Adjusting cnc router g-code for different wood species requires changing feed rates, spindle speeds, and toolpath strategies. This guide outlines the exact machine parameters to modify and the verification checks needed to prevent tool damage and finish defects.
- Adjust feed rate and spindle speed based on wood density and tool diameter.
- Use test cuts on offcuts before running full production parts.
- Monitor tool wear and change bits when finish quality drops.
- Keep a written log of parameters for each wood species.
- Verify final dimensions and surface finish before clearing the part.
Why G-Code Calibration Varies by Wood Species
A cnc router does not cut all materials the same way. Softwoods, hardwoods, composites, and plywood each present different resistance, tear-out patterns, and heat buildup. If you program a part for cherry with the same parameters used for pine, the tool will either burn the wood or chatter.
Calibration is the process of matching machine behavior to the material. It involves adjusting the g-code commands that control feed rate, spindle speed, and toolpath geometry. Most CAM software exports these values as numbers. You must choose the right numbers for the job.
This guide covers the practical steps to adjust those values. It assumes you have a working machine and a stable spindle. It does not cover machine assembly or controller setup.
Prerequisites: What You Need Before Adjusting Parameters
Before changing g-code settings, confirm the machine is ready for testing.
- Verify the spindle is level and the tool holder is clean.
- Ensure the router table is flat and the vacuum is off during test cuts.
- Have scrap wood of the target species available.
- Know the tool diameter and number of flutes you are using.
- Have a caliper and a feeler gauge on hand.
If the machine geometry is out of alignment, no amount of parameter tuning will save the cut. Check Z-zero and the origin first. A shifted origin causes offset parts, not just poor finish.
Step 1: Determine the Starting Spindle Speed
Spindle speed determines how much material the cutter removes per tooth. For wood, higher speeds usually produce cleaner cuts, but they also generate more heat.
Start with a speed that matches the tool diameter and the wood type. Hardwoods need higher speeds than softwoods. A small tool needs higher speed than a large tool.
Look at the tool manufacturer’s data if available. If not, start in the upper range of typical woodworking speeds. For a 1/4 inch bit, a speed in the high range is a common starting point. For a 1/2 inch bit, drop the speed.
The reason for this step is thermal management. Cutting too slowly in dense wood creates friction heat, which burns the surface. Cutting too fast can cause the tool to overload the motor and blur the cut.
Step 2: Set the Feed Rate for the Wood Density
Feed rate is the speed of the table. It works directly with spindle speed to control the chip load.
Chip load is the amount of wood removed per tooth pass. Softwoods allow higher chip loads. Hardwoods require lower chip loads.
Start with a conservative feed rate. Run a test cut. If the cut is slow and the wood is clean, increase the feed rate slightly. If the cut is rough or the tool vibrates, decrease the feed rate.
The reason is to prevent tool deflection. In dense wood like oak or maple, a high feed rate forces the bit to dig in. This causes deflection and tear-out on the exit side of the cut.
Step 3: Adjust the Depth of Cut
The depth of cut per pass affects tool life and finish quality.
For most wood species, keep the first pass shallow. A shallow pass breaks the surface grain and reduces the load on the flutes.
Subsequent passes can go deeper. In softwoods, you can take a larger step. In hardwoods, keep the step small.
The reason for this step is to manage the cutting force. A deep cut in a hard species creates high radial forces. These forces push the tool holder and can damage the bearing. A shallow cut keeps forces manageable and produces a smoother bottom of the pocket.
Step 4: Modify the Toolpath Strategy
The g-code toolpath determines how the cutter moves through the material. Different woods react differently to entry and exit angles.
For hardwoods, use a helical or climb mill toolpath if the machine allows. This keeps the cutting force on the inside of the cut.
For softwoods, a standard concentric or spiral toolpath works well. It is less aggressive and produces a smooth finish.
The reason is tear-out control. In softwoods, the grain compresses easily. An aggressive entry angle can crush the surface. In hardwoods, the grain holds better, but the tool needs to be supported to avoid chatter.
Step 5: Account for Tool Geometry
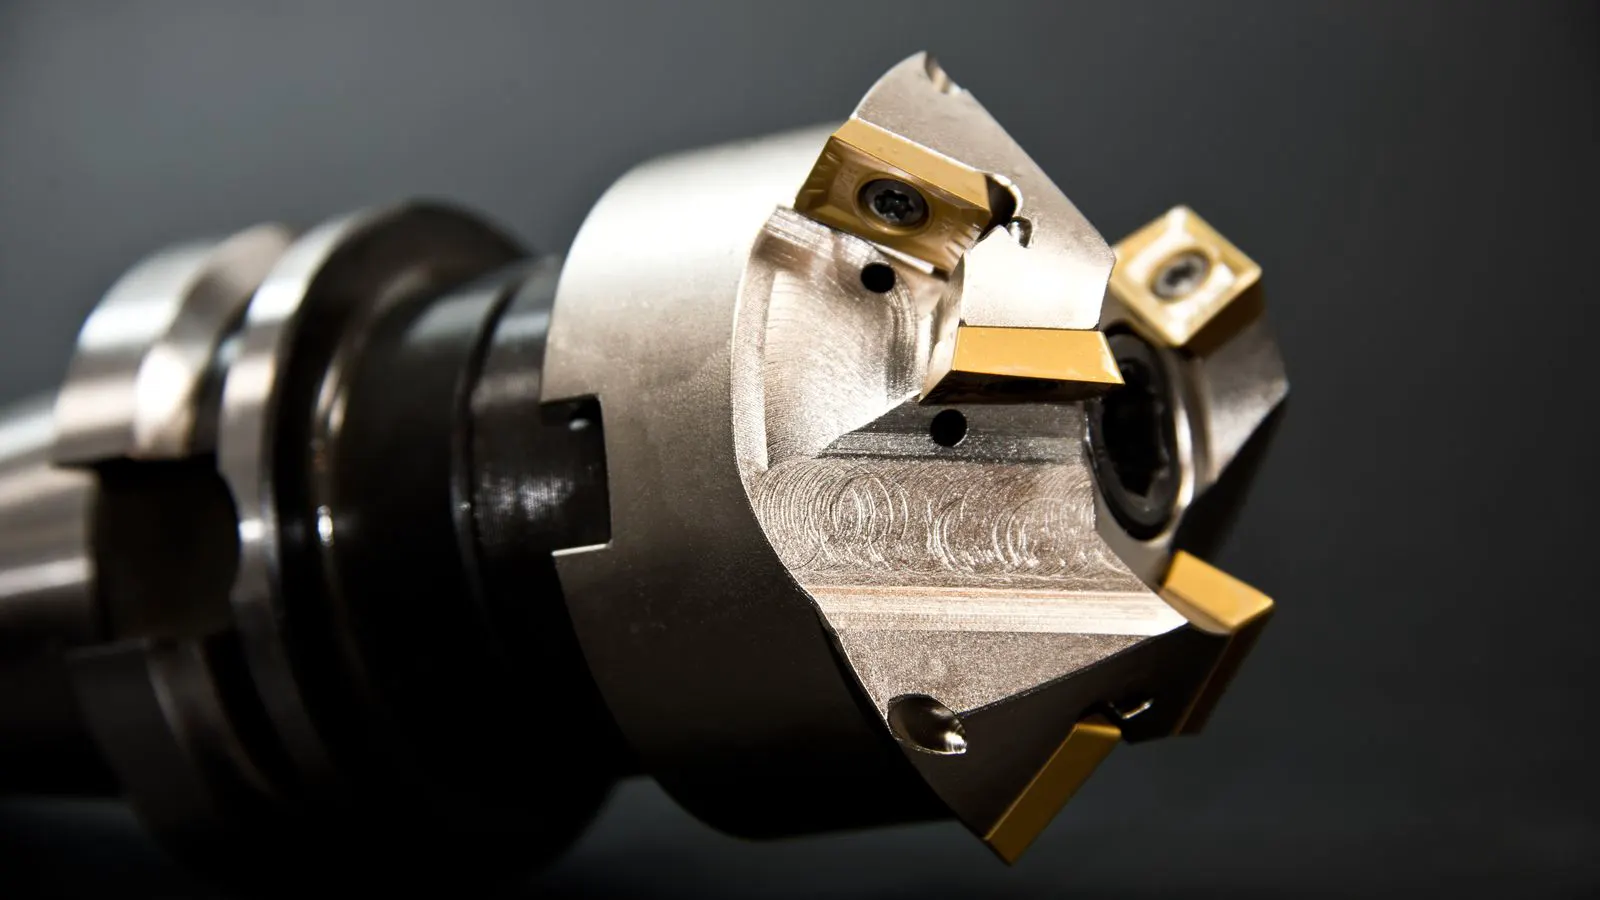
The number of flutes and the type of coating matter.
A single-flute tool removes more material per pass. It is good for roughing in softwoods. It creates a rougher finish.
A double or four-flute tool removes less material per pass. It is better for finishing in hardwoods. It produces a smoother surface.
The reason for this step is heat dissipation. Single-flute tools generate more heat because the chip load is higher per tooth. In dense wood, that heat builds quickly. Multi-flute tools distribute the heat over more cutting edges.
Step 6: Run a Full-Depth Test Cut
After setting the parameters, run a test cut on a scrap piece.
Cut a profile that matches the complexity of the production part. Include corners, entry points, and exit points.
Check the cut with a caliper. Measure the width of the channel and the depth of the pocket.
Check the surface with your hand. Run a finger across the cut. You should feel a smooth surface, not a scratchy one.
The reason for this step is to catch errors before production. A small mistake in the Z-zero or the feed rate will not show up in a simple straight cut. It will show up in a complex profile.
Step 7: Log the Working Parameters
Write down the settings that worked.
Record the wood species, the tool diameter, the number of flutes, the spindle speed, the feed rate, and the depth of cut.
Keep this log in a binder or a digital file. Next time you cut the same wood, you will have a starting point.
The reason for this step is consistency. Without a log, every new operator starts from scratch. They guess at the settings. They waste material. They risk damaging the tool.
Common Mistakes That Ruin the Calibration
Do not make these errors when adjusting g-code.
- Changing too many variables at once. If you change speed, feed, and depth simultaneously, you will not know which change caused the improvement or the failure.
- Ignoring tool wear. A dull tool behaves differently than a sharp tool. If the finish drops, check the bit before changing the g-code.
- Skipping the test cut. Running a full part without a test cut is a waste of material.
- Using the same parameters for all woods. Pine and walnut are not the same material. The parameters must change.
- Forgetting the exit side. Tear-out often happens on the back of the cut. Check both sides of the test piece.
Final Verification: Confirm the Part Meets Tolerance
The final step is to verify the production part.
Measure the critical dimensions. Check the flatness of the surface. Look for burn marks or chatter marks.
If the part meets the tolerance and looks good, clear the area and prepare for the next run.
If the part fails, stop the machine. Do not run another part. Identify the cause. Check the tool, the material, and the parameters. Fix the issue before continuing.
The reason for this final check is quality control. A cnc router is a precise tool, but it is still a mechanical system. Things drift. Tools wear. Material varies. The final check ensures the part is actually good.
Quick Reference Table for Wood Species
Use this table as a starting guide. It shows general trends, not absolute rules. Always test on scrap.
| Wood Species | Spindle Speed | Feed Rate | Depth of Cut | Toolpath Note |
|---|---|---|---|---|
| Softwood (Pine) | Medium | High | Large | Standard spiral |
| Hardwood (Oak) | High | Low | Small | Helical or climb |
| Plywood | High | Medium | Medium | Double-sided cut |
| Composite (MDF) | High | Low | Small | Keep bit sharp |
Frequently asked questions
Can I use the same g-code for all wood types?
No. Each wood species has a different density and grain structure. You must adjust the feed rate and spindle speed for each material.
How do I know if my tool is dull?
A dull tool produces a rough finish, burns the wood, and requires more force. If the surface looks scratched, replace the bit.
What is the safest way to change parameters?
Change one parameter at a time. Test the change on a scrap piece. Only move to the next parameter after the first one works.
Do I need to adjust the Z-zero for different woods?
No. Z-zero is a machine position, not a material property. However, you may need to adjust the depth of cut in the g-code for different materials.
How often should I replace the cutting tool?
Replace the tool when the finish quality drops or when you see burn marks. There is no fixed number of cuts. It depends on the wood and the tool.