Intermittent emergency stop failure on saws usually stems from worn interlock switches, loose wiring, or degraded contact points. This guide identifies the specific symptoms, isolates the root cause, and provides step-by-step repair procedures to restore reliable safety shutdown.
- Intermittent failure indicates a loose connection or worn contact rather than a fully dead switch.
- Always isolate the machine from power before inspecting wiring or switch internals.
- Replace aged interlock switches with models rated for the specific voltage and duty cycle of the saw.
- Document all repairs to maintain a clear service history for audit and maintenance planning.
Why intermittent shutdowns happen
An emergency stop circuit that works sometimes but fails other times is a red flag that requires immediate attention. Unlike a completely dead stop button, which points to a broken circuit, intermittent behavior usually means the contact is making and breaking as the operator presses it. This happens when the switch mechanism wears out, when a wire loosens at a terminal, or when a guard interlock switch struggles to close the circuit.
Saw operations run hot and generate vibration. The combination of heat, mechanical shock, and repetitive actuation puts stress on safety components. A switch that has operated thousands of times may feel firm to the touch but still have a gap inside the contact points. That gap causes the circuit to open and close randomly, giving the operator a false sense of security. The machine may stop, then restart if the operator does not reset the switch correctly, or it may simply refuse to stop when the button is pushed.
Common symptoms of a faulty emergency stop
Before opening panels, identify the specific pattern of failure. Each symptom points to a different part of the safety chain.
| Symptom | Likely cause | What to do |
|---|---|---|
| Button stops the saw, but it restarts without reset | Internal switch contact is worn or sticking | Replace the emergency stop switch module |
| Button feels loose or spongy when pressed | Spring mechanism is fatigued or broken | Replace the switch and check the actuator rod |
| Machine stops only when the button is pushed hard | Wire is loose at the terminal block | Tighten terminal screws and reseat the wire |
| Stop works when the guard is closed, fails when open | Guard interlock switch is misaligned or dirty | Clean contacts and align the interlock lever |
| Random shutdowns without touching the button | Vibration has loosened a connector in the control cabinet | Inspect all connectors and secure loose pins |
If the button works correctly but the guard interlock triggers a stop, the issue lies in the guard assembly. If the button fails but the guard works, the emergency stop switch or its wiring is the culprit.
Step-by-step diagnosis procedure
Start with the simplest checks before moving to internal components. Turn off the main power disconnect at the saw. Lock out and tag the unit. This protects the technician and prevents accidental startup during testing.
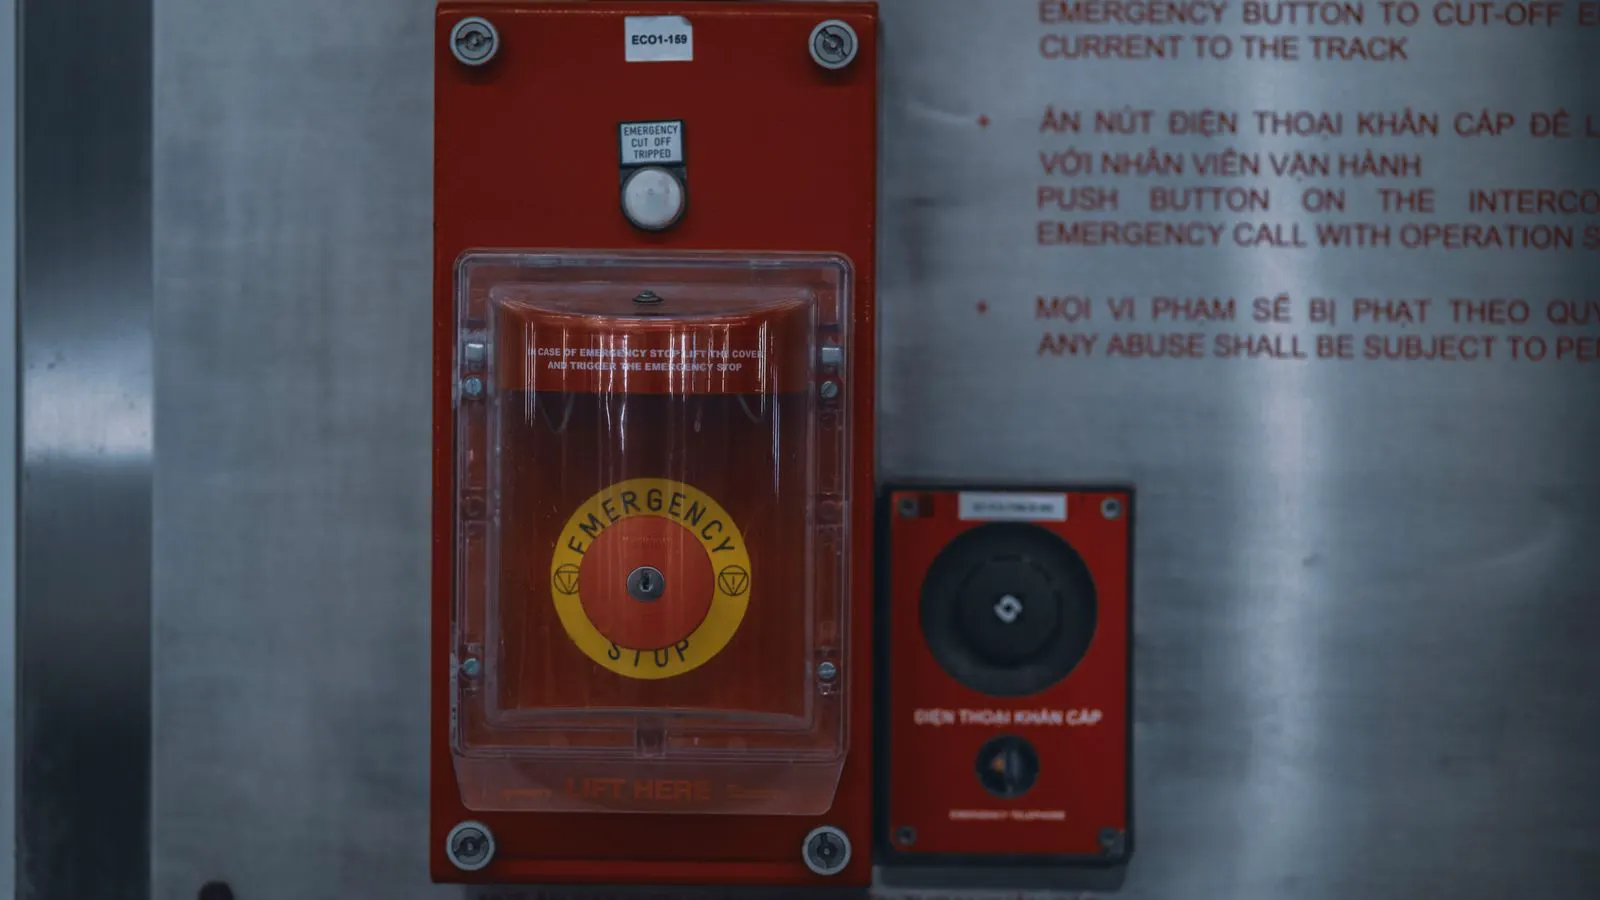
- Inspect the emergency stop button for physical damage. Check for cracks in the housing, bent actuator rods, or signs of grease or dust buildup around the base.
- Test the guard interlock switches. Open the guard and press the lever. The switch should click audibly. If the click is weak or absent, the internal contact may be worn.
- Use a multimeter to check continuity through the switch. Set the meter to the continuity setting. Touch the probes to the switch terminals while pressing the button. The meter should beep when the circuit is closed. If the beep is intermittent, the switch is the failure point.
- Trace the wiring from the switch to the control cabinet. Look for chafed insulation, loose crimps, or terminals that have pulled away from their screws. Heat from the saw motor can soften plastic insulation, causing wires to shift over time.
- Check the terminal block in the control cabinet. Remove the cover and inspect the connections. Tighten any screws that feel loose. If a wire has broken at the solder joint, re-solder and insulate the repair.
Replacing the emergency stop switch
When testing confirms the switch is faulty, replacement is the safest fix. Do not try to adjust the internal contact gap. Most industrial switches are sealed units. Opening the casing voids the safety certification and creates a new failure point.
Select a replacement switch that matches the original voltage rating, contact capacity, and mounting style. Check the nameplate on the old switch for the model number. If the number is worn, measure the mounting hole diameter and the actuator rod length. Industrial saws often use 16mm or 19mm actuator rods. A mismatch will cause the button to feel loose or prevent the switch from closing fully.
Remove the old switch by disconnecting the wires from the terminals. Note which wire goes where. Label them if necessary. Install the new switch and reconnect the wires. Tighten the terminals firmly. Apply a small amount of dielectric grease to the wire ends to prevent corrosion. Test the switch by pressing and releasing it several times. The actuator should return to the center position with a firm snap. If it sticks, the spring is faulty, and the unit needs replacement again.
Guard interlock alignment and maintenance
Guard interlock switches are often overlooked because they sit behind the guard. Over time, the lever that presses the switch can bend or the guard can shift on its hinges. This changes the force applied to the switch contact.
Remove the guard and inspect the interlock lever. It should be straight and free of burrs. Lubricate the pivot point with a dry lubricant. Avoid heavy oil, which attracts sawdust. Close the guard and check that the lever presses the switch fully. If the switch does not close, adjust the guard position or replace the lever. The guard must be rigid. A loose guard that wobbles can cause the interlock to open and close randomly, triggering false stops or, worse, allowing the saw to run without protection.
Check the wiring harness at the guard. The harness often runs through a gland or a flexible conduit. If the conduit is cracked, the wires inside can chafe against the guard frame. Replace the conduit and secure the harness to prevent future movement.
Prevention and maintenance schedule
Preventing emergency stop failure requires regular checks, not just reactive repairs. Add safety system inspection to the daily or weekly checklist for saw operators.
- Daily: Press the emergency stop button. Verify the saw stops immediately. Reset the button and confirm the machine is ready to run. Check that the guard interlock works by opening and closing the guard while the machine is off.
- Weekly: Inspect the emergency stop button for physical damage. Check the guard for cracks or loose hinges. Listen for unusual clicking from the interlock switches when the guard is actuated.
- Monthly: Open the control cabinet and inspect the terminal block. Tighten any loose connections. Check the wiring for signs of heat discoloration or insulation damage. Test continuity through the emergency stop and guard interlock switches with a multimeter.
- Annually: Replace the emergency stop switch if it shows signs of wear, such as a spongy button feel or a weak actuator return. Replace guard interlock switches if the contact points are pitted or corroded.
Keep a maintenance log. Record the date, the technician, the part number of any replacement, and the test results. This log provides a clear history of the safety system. It helps identify patterns, such as a particular batch of switches failing early, and ensures that the safety chain is always in a known, tested state.
Final thoughts
An intermittent emergency stop is not a nuisance. It is a broken safety function. The saw must be taken out of service until the fault is identified and fixed. Following the diagnostic steps above allows you to isolate the problem quickly. Check the button, test the guard, trace the wiring, and replace the faulty component. Regular maintenance prevents these failures before they affect production. A reliable safety system protects the operator and keeps the machine running.
Frequently asked questions
Can I clean the emergency stop switch contacts with contact cleaner?
Yes, if the switch is accessible and rated for it. Spray a small amount of contact cleaner into the switch opening and operate the button several times. Dry the area completely before reassembling. If the contact points are pitted, cleaning will not fix the issue.
What voltage should I check on the emergency stop circuit?
Check the nameplate on the saw and the control cabinet. Most industrial saws use a low voltage control circuit, such as 24V or 120V AC, for the safety chain. Match your multimeter settings to the circuit voltage before testing.
Is it safe to test the emergency stop while the saw is running?
No. Always turn off the main power disconnect before testing the wiring or opening the control cabinet. You can test the button function with the saw running only if the procedure is part of the manufacturer's recommended start-up check.
How do I know if the guard interlock switch is misaligned?
Close the guard and press the interlock lever. If it does not click or if the lever has to be pushed hard to actuate the switch, the guard is likely misaligned. Adjust the guard position or replace the lever until the actuation is smooth and positive.
Can I use a different brand of emergency stop switch?
Yes, as long as it matches the electrical rating, contact capacity, and mechanical mounting dimensions. Check the actuator rod length and diameter. A switch that is too short or too long will not actuate the circuit correctly.