Select the router table size by measuring your largest stock, counting jobs per week, and checking clearance for clamping and tool access. A table that is too small limits throughput, while one that is too large wastes space and increases setup time.
- Match the table footprint to the largest panel you cut regularly, not the largest panel you might cut occasionally.
- Add clearance for clamps, offcuts, and tool changes before finalizing the machine dimensions.
- Check the relationship between table size and spindle travel so the cut path stays stable and repeatable.
- Verify the layout against your floor plan and material storage before signing the purchase order.
Start With Your Largest Regular Job
Do not size the router table based on the absolute largest panel you have ever cut. Size it based on the job that runs most often. If a shop processes forty sheets of 2440 by 1220 mm MDF every week, the table must handle that sheet comfortably. If the same shop processes two 3000 by 1500 mm panels per month, the extra table area is rarely worth the cost.
Write down three numbers for your main product: stock length, stock width, and weekly quantity. These figures define the working envelope. If a customer occasionally requests an oversized panel, that is a different conversation. It belongs in a special setup or a different machine, not in the daily production footprint.
Measure the Working Area, Not Just the Bed
The table size is often listed as the bed dimensions, but the usable area is smaller. The bed holds the material, but the spindle and the gantry structure occupy space around the edges. Check the manufacturer data for the maximum material size that fits within the spindle travel limits. The bed may be 3000 by 1600 mm, but the spindle may only reach 2800 by 1400 mm from the center.
This difference matters when you cut near the edges. If the tool center is limited, you cannot cut a full-width slot at the very edge of the stock. For clean edges, you need a margin between the tool path and the table edge. A small margin prevents the gantry from hitting the stop and reduces the need for manual trimming.
Account for Clamping and Offcuts
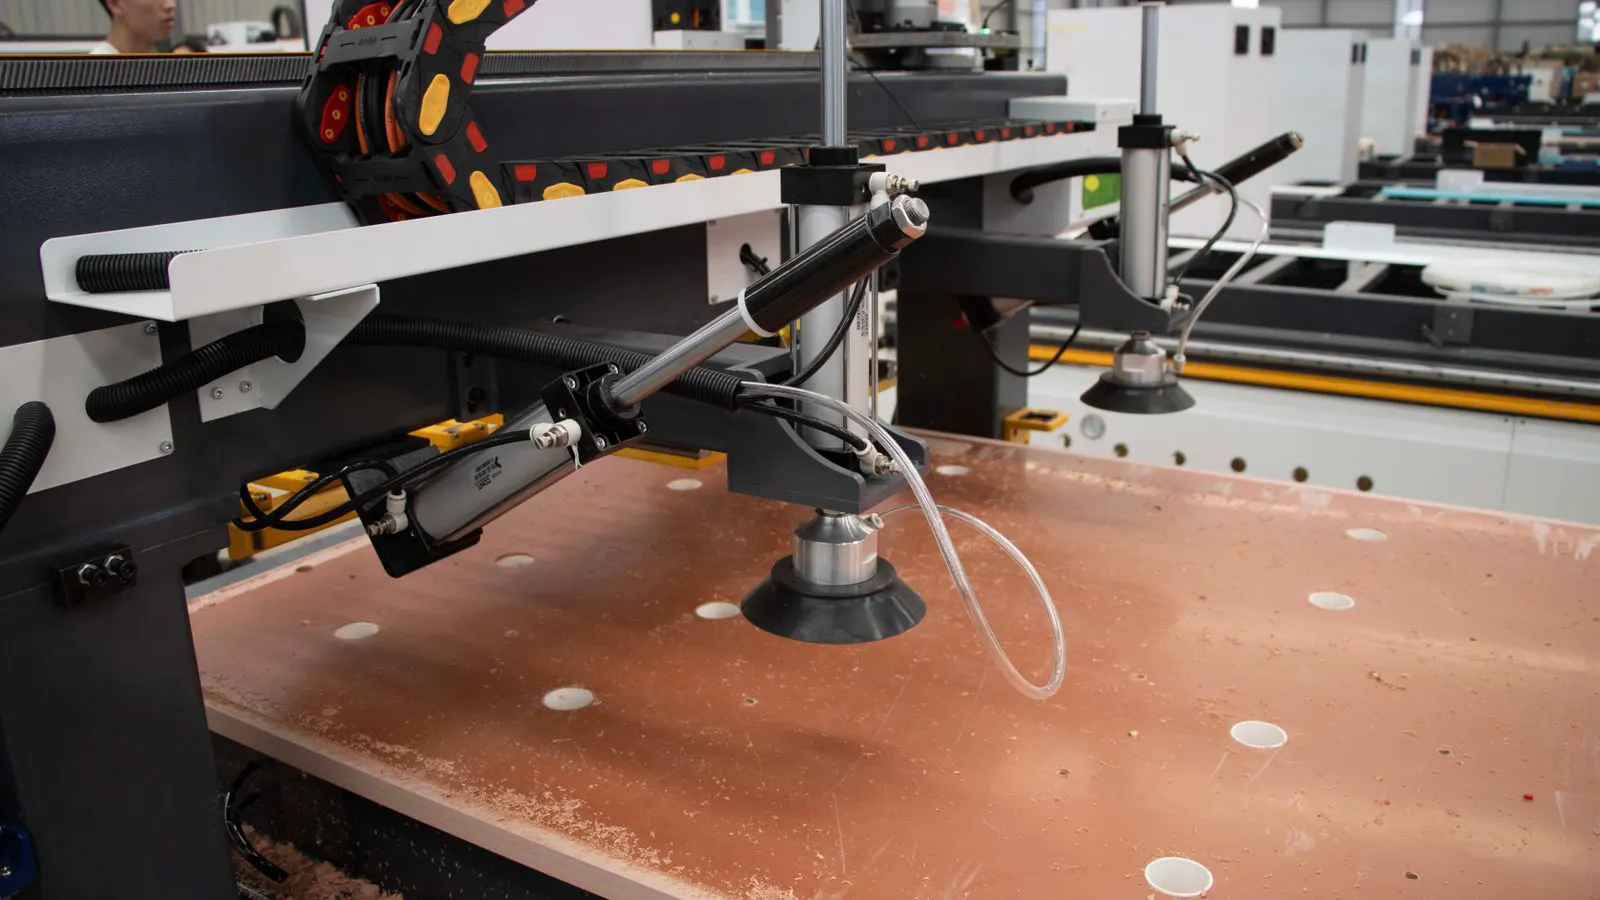
A flat table is not just a cutting surface. It is a workbench for the operator. You need room to clamp the stock without the clamps interfering with the spindle path. You also need room for the offcuts that fall away during the cut.
If the table is too small, the operator must reposition the material after every pass. That adds setup time and increases the chance of misalignment. If the table is too large, the operator walks farther to reach the corners. Both extremes slow production. Look for a table where the clamps can sit on the bed without blocking the tool path, and where the offcuts can be removed without stopping the cut.
A practical check is to place a full sheet of your main stock on the table. Mark where the clamps would go. Then mark the tool path. If the clamps overlap the tool path, the table is too small for that stock size without a different clamping method.
Check Spindle Travel and Table Size
The spindle travel defines the actual cutting area. The table size should support that travel without creating excessive overhang. A large table with a small spindle travel area is a waste of floor space. A small table with a large travel area may cause the spindle to hit the table edge during a cut.
Match the table size to the spindle reach. If the spindle can travel 2500 mm in length, the table should be at least that long. Ideally, the table is slightly larger to provide a stable base. The difference between the table edge and the maximum tool position should be enough to prevent the gantry from colliding with the table structure.
This relationship is critical for precision. If the table is too short, the spindle may run close to the edge, causing vibration or deflection. If the table is too long for the spindle, the operator may assume the full table is usable and cut outside the safe zone.
Consider Material Handling and Floor Space
The table size affects how you move material into and out of the machine. A large table often requires two people to load a full sheet. A smaller table may fit on a single forklift or pallet jack. Check your floor plan before deciding on the machine.
If the shop is tight on space, a compact table may be necessary even if the largest job is bigger. In that case, the operator splits the large panel into two sections and cuts them separately. This adds setup time but protects the floor layout. If the floor is open, a larger table allows you to cut full panels in one setup.
Measure the distance from the table to the door or the loading area. If the material must turn on its end to fit through the door, the table footprint may need to be smaller than you think. A table that fits the cutting job but not the loading path creates a bottleneck.
Calculate Setup Time and Throughput
Production capacity is not just about cutting speed. It is about the time between jobs. A larger table reduces the number of setups per week. If you cut full panels, you clamp, cut, and unload. If you cut panels into two, you clamp the first half, cut, move, clamp the second half, and cut.
The extra setup time adds up. For high-volume production, even a small increase in setup time per job can reduce the total number of pieces produced per shift. For low-volume, custom work, the setup time difference matters less. The operator can spend more time on finishing and quality checks.
Use a simple calculation. Multiply the number of jobs per week by the setup time per job. Then compare that to the cutting time. If setup time is a significant portion of the total cycle, a larger table that reduces setups may pay for itself. If cutting time dominates, the table size matters less for throughput.
Verify With a Test Layout
Before buying, create a simple layout on the floor. Use tape to mark the table size you are considering. Place a full sheet of your main stock on the marked area. Walk the perimeter. Check if the operator can reach the clamps, remove offcuts, and load the next piece without stepping on the machine.
Check the door width. Check the pallet jack path. Check the position of the material storage. If the layout feels tight, reduce the table size or move the material storage. If the layout feels open, you may not need the maximum table size.
This test prevents a common mistake: buying a machine that fits the cutting job but not the shop. The machine should fit the workflow, not just the part.
Common Mistakes
Buying a table based on the largest possible panel is the most common error. The operator spends time loading a panel that requires two people and a lift. The cutting time is not much longer, but the handling time is.
Ignoring the spindle travel limits is another frequent error. The table may be large, but the usable area is smaller. The operator marks a cut near the edge and the spindle hits the stop.
Not checking clamping space causes misalignment. If the clamps block the tool path, the operator must use different clamps or reposition the stock. This slows production and creates defects.
Forgetting the offcut removal area leads to jams. If the offcuts fall on the table, the spindle may hit them on the next pass. If the table is too small, the offcuts fall onto the floor and the operator must stop the cut to clean them up.
Final Verification Step
After selecting the table size, run a final check against your production plan. Take a list of your top ten jobs by volume. For each job, mark the stock size on the table. Confirm that the stock fits within the spindle travel limits. Confirm that the clamps do not block the tool path. Confirm that the operator can remove offcuts without stopping the cut.
If all ten jobs pass, the table size is correct. If one job fails, it is a low-volume job that can be handled with a special setup. If two or more high-volume jobs fail, reduce the table size or split the jobs.
The goal is a table that handles the regular work without extra steps. The machine should be a tool for production, not a puzzle to solve every morning.
Quick Reference Table
| Stock Size | Table Bed Size | Spindle Travel | Setup Time Impact | Handling |
|---|---|---|---|---|
| 2440 x 1220 mm | 3000 x 1600 mm | 2800 x 1400 mm | Low | One or two people |
| 1800 x 900 mm | 2400 x 1200 mm | 2200 x 1000 mm | Low | One person |
| 3000 x 1500 mm | 3500 x 1800 mm | 3200 x 1600 mm | Medium | Two people |
| 2440 x 1220 mm (split) | 1800 x 900 mm | 1600 x 800 mm | High | One or two people |
This table shows how the same stock size can be handled by different table sizes. The smaller table requires splitting the panel, which adds setup time. The larger table allows a full panel cut, which reduces setup time. Choose based on the volume and the available floor space.
FAQ
Q: Can I use a smaller table if I split large panels?
A: Yes, but it increases setup time. You must clamp, cut, move, and clamp again for each section. This works for low-volume jobs but slows high-volume production.
Q: How much clearance do I need around the table?
A: Allow enough space for the operator to reach the clamps and remove offcuts. A typical clearance is 600 to 900 mm on each side, depending on the stock size.
Q: Does the table size affect cutting precision?
A: A table that is too small can cause the spindle to run close to the edge, which may create vibration. A table that is too large is not a problem for precision, but it wastes space.
Q: Should I buy the largest table I can afford?
A: No. Buy the size that handles your largest regular job. A larger table costs more and takes up more floor space without increasing output if your jobs do not require it.
Q: What if my largest job is only one per month?
A: Treat it as a special job. Size the table for the regular work and plan a special setup for the large panel. This saves money and keeps the production line efficient.
===END===