Edge banding delamination on production lines usually stems from poor substrate prep, incorrect heat, or weak adhesive. This guide lists common symptoms, likely causes, and fixes to restore bond strength and prevent recurring peeling.
- Proper substrate surface preparation is the single most important step to prevent delamination.
- Monitor heat and pressure settings consistently to ensure the adhesive reaches its cure point.
- Regularly inspect and clean the blade and application systems to maintain consistent bond quality.
- Match the adhesive type and thickness to the specific edge banding material and production speed.
Why does edge banding delamination happen?
Edge banding delamination and peeling on production lines are often caused by a combination of factors rather than a single error. When the bond between the banding material and the substrate fails, it usually appears as lifting corners, visible gaps, or a complete separation of the edge. Understanding the root cause is essential for a lasting fix.
Common issues arise during the application phase, such as insufficient heating, uneven pressure, or the use of incompatible adhesives. However, problems can also originate from the substrate itself. If the wood surface is rough, dusty, or improperly finished, the adhesive may not adhere correctly. This guide focuses on identifying these issues and providing actionable steps to resolve them.
How to diagnose the specific type of failure
Before making adjustments, it is crucial to identify the exact type of adhesive failure. Different symptoms point to different problems. For example, peeling at the corners often indicates a lack of pressure or heat at the edges, while a larger, flat area of delamination may suggest a substrate surface issue or an incorrect adhesive thickness.
Visually inspect the affected parts under good lighting. Check if the banding is lifting from the corner or the middle of the edge. Also, examine the adhesive residue on both the substrate and the banding. A dry, white residue might indicate the adhesive did not melt properly, while a sticky, dark residue could mean too much heat was applied, causing the adhesive to degrade.
Troubleshooting common edge banding issues
The table below outlines the most frequent symptoms of edge banding delamination and the recommended actions to take. Use this as a reference to quickly identify the problem area in your production line.
| Symptom | Likely cause | What to do |
|---|---|---|
| Peeling at the corners of the edge banding | Insufficient pressure, lack of heat at the edges, or uneven banding application | Adjust the pressure rollers to apply consistent force along the entire edge. Ensure the heating block is uniform and not worn. |
| Delamination across the middle of the edge | Substrate surface contamination, dust, or roughness | Thoroughly sand the substrate edge. Use a dedicated edge prep machine to ensure a smooth, clean surface free of dust and resin. |
| Adhesive residue visible after curing | Incorrect adhesive thickness, low heat, or slow application speed | Reduce the adhesive thickness if it is too heavy. Increase the heat to the recommended temperature for the adhesive and banding material. |
| Banding lifting after a few days | Weak adhesive bond, incompatible materials, or high humidity | Verify that the adhesive is compatible with the substrate and banding material. Allow sufficient curing time before subsequent operations. |
| Uneven color or scorching on the banding | Excessive heat or prolonged contact with the heating block | Lower the temperature setting. Check the banding material’s heat resistance and adjust the production speed to reduce dwell time. |
Preparing the substrate for a strong bond
A strong bond starts with a properly prepared substrate. Many production lines overlook the edge preparation step, assuming that the adhesive will bond to any surface. In reality, the quality of the edge surface is critical.
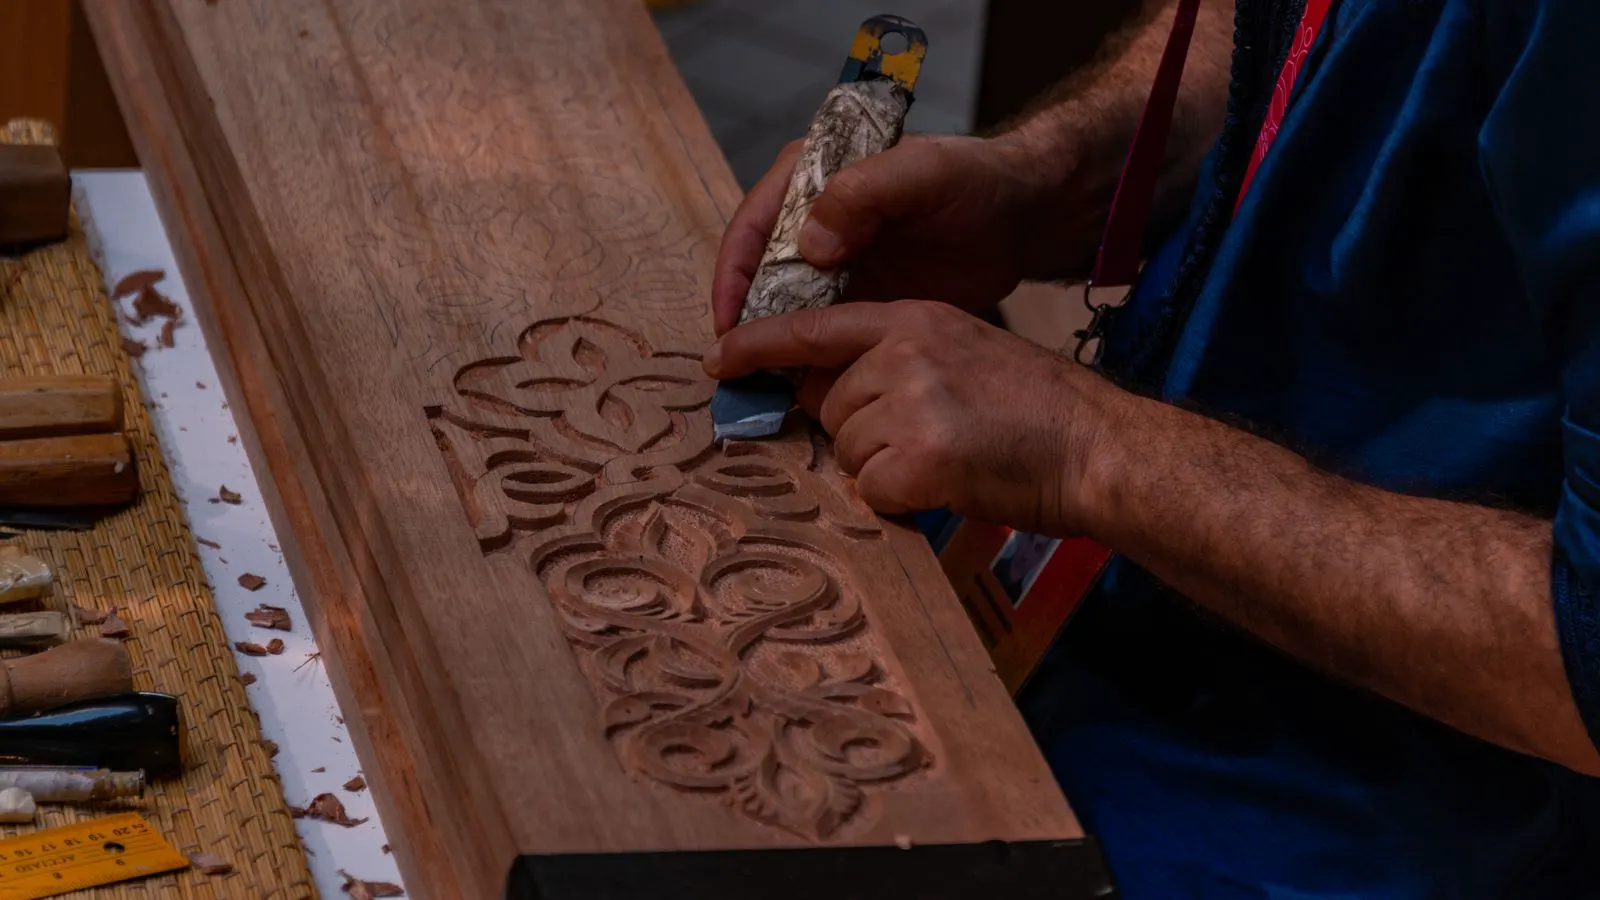
Ensure the edge of the workpiece is smooth and free of defects. Use a dedicated edge banding prep machine or a high-quality sander to achieve a consistent surface profile. Avoid leaving any dust, sawdust, or resin on the edge. A simple wipe with a lint-free cloth or a vacuum attachment can remove fine particles that prevent proper adhesion.
For hardwoods, it is particularly important to ensure the edge is not too rough. Softwoods may require extra attention to avoid crushing the fibers. A consistent surface profile helps the adhesive spread evenly and creates a larger surface area for bonding.
Optimizing heat and pressure settings
The heating and pressure systems are the heart of the edge banding process. Incorrect settings are a leading cause of adhesive failure. It is essential to calibrate these systems regularly and match them to the specific materials being used.
Start with the manufacturer’s recommended settings for your adhesive and banding material. Then, adjust based on your production speed and substrate type. If the production speed is high, you may need to increase the heat to ensure the adhesive cures quickly. Conversely, if the speed is slow, reduce the heat to prevent the adhesive from burning or the banding from scorching.
Pressure is equally important. The pressure rollers must apply enough force to push the adhesive into the substrate pores and ensure intimate contact between the banding and the edge. However, too much pressure can cause the banding to deform or the substrate to dent. Monitor the pressure and adjust it to maintain a consistent, even contact.
Selecting the right adhesive and banding material
Not all adhesives and banding materials are created equal. Using the wrong combination can lead to inherent weaknesses in the bond. It is important to match the adhesive type and thickness to the specific application.
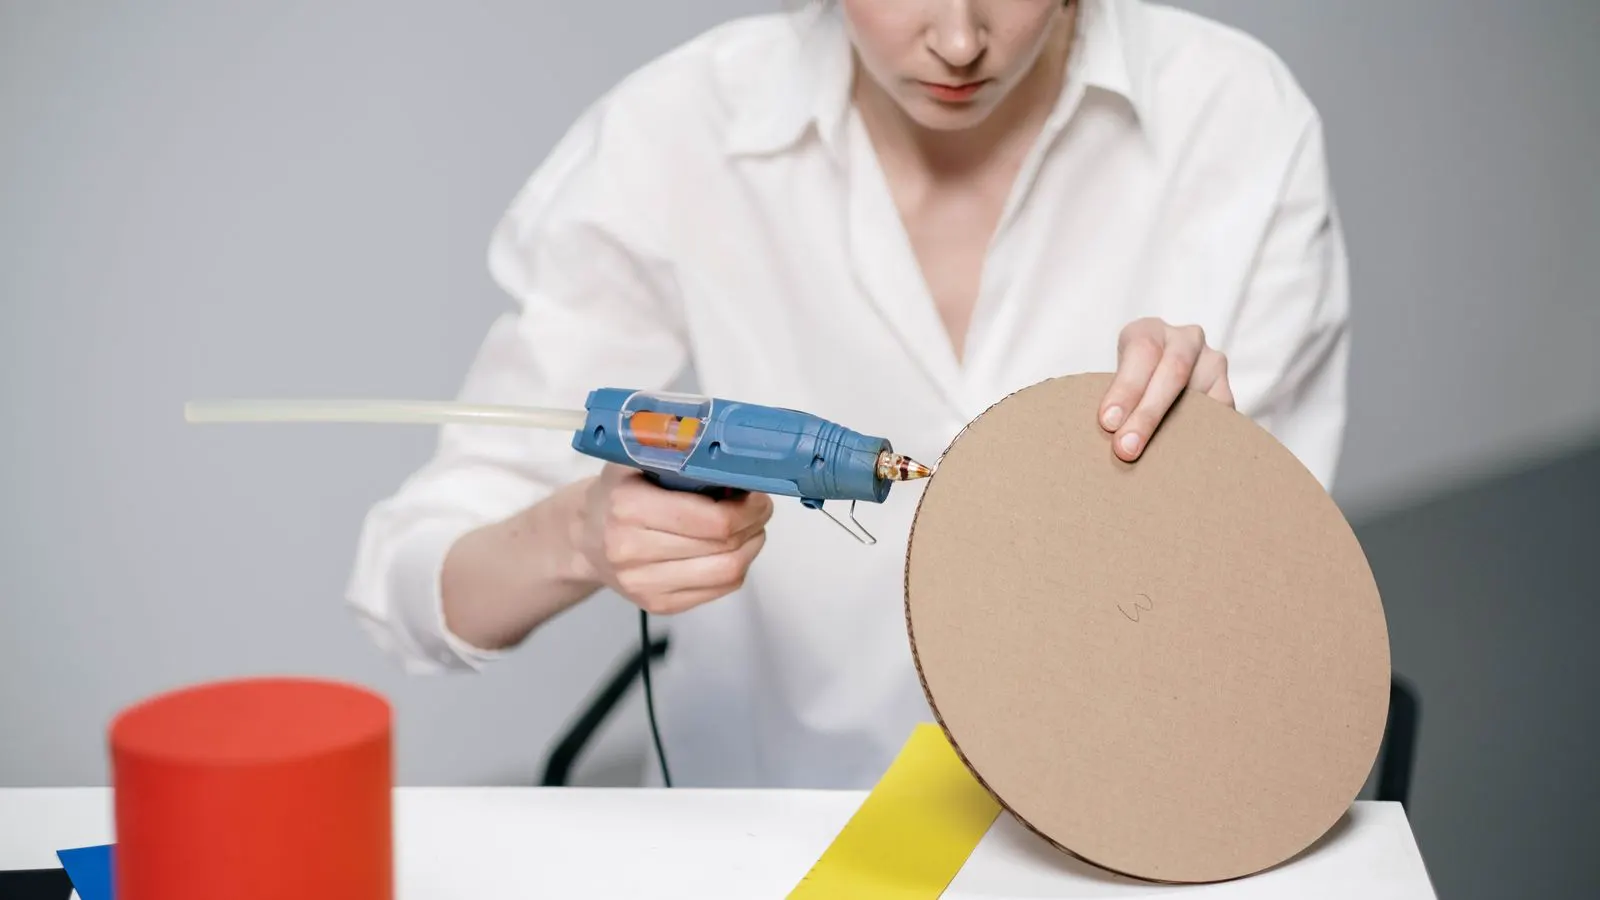
For solid wood edges, a hot-melting adhesive is often used. For laminate or veneer edges, a different adhesive may be required. Check the compatibility of your adhesive with both the substrate and the banding material. Also, consider the thickness of the adhesive. A thinner adhesive layer may provide a stronger bond, while a thicker layer may be necessary for rougher surfaces.
The banding material itself also plays a role. Some materials are more difficult to bond than others. If you are experiencing persistent delamination, consider switching to a different banding material that is known to bond well with your adhesive.
Preventing future delamination on the line
Preventing edge banding delamination requires a proactive approach. Implementing a routine maintenance and inspection schedule can significantly reduce the likelihood of adhesive failure.
- Inspect and clean the blade and application systems regularly. A dull or dirty blade can leave a rough surface on the banding, preventing proper adhesion. Clean the heating block and pressure rollers to remove any buildup that could affect performance.
- Monitor the production environment. Temperature and humidity can affect the adhesive’s curing process. Ensure the production area is within the recommended range for your adhesive and banding material.
- Train operators on proper setup. Operators should be trained to set up the machine correctly, including adjusting heat and pressure, and inspecting the substrate before feeding it into the machine.
- Keep a log of settings and issues. Record the heat and pressure settings used for each production run. If a problem occurs, refer to the log to identify any changes that might have caused the issue.
- Perform regular quality checks. Inspect a sample of finished parts regularly to detect any early signs of delamination or peeling. This allows for timely adjustments before a larger batch is affected.
Conclusion
Addressing edge banding delamination and peeling on production lines requires a systematic approach. By identifying the specific symptom, understanding the likely cause, and applying the appropriate fix, you can restore the bond strength and prevent recurring issues. Focus on substrate preparation, optimize heat and pressure settings, and select the right adhesive and banding material. With consistent maintenance and monitoring, you can achieve a high-quality edge band finish that stands the test of time.
Frequently asked questions
How can I tell if the adhesive is the problem or the substrate?
If the adhesive residue is visible or the bond fails across the entire edge, it is likely an adhesive or setup issue. If the failure is localized or the substrate surface is rough, it is likely a substrate preparation problem.
Is it possible to use a different adhesive to fix delamination?
Yes, switching to a different adhesive that is better compatible with your substrate and banding material can resolve delamination issues. Always test the new adhesive on a sample first.
How often should I inspect the blade and application systems?
Inspect and clean the blade and application systems regularly, ideally after each shift or at the start of each production run. More frequent inspections may be needed if you are using abrasive materials or if you notice any degradation in bond quality.
Can humidity affect edge banding delamination?
Yes, high humidity can slow down the curing process of the adhesive, leading to weak bonds. Ensure the production area is within the recommended humidity range for your adhesive and banding material.
What is the best way to prepare the substrate edge for edge banding?
The best way to prepare the substrate edge is to use a dedicated edge prep machine or a high-quality sander to achieve a smooth, consistent surface. Remove all dust and debris to ensure a clean bonding surface.