Choosing table saw machine guards means matching the device to your specific blade setup, workpiece dimensions, and cutting workflow. The right guard reduces kickback and hand contact risk while allowing accurate crosscuts and rip cuts. Evaluate blade height, fence interaction, and material type before selecting a guard type.
- Match guard type to primary cut type, as rip guards and crosscut guards serve different functions
- Verify blade height and fence clearance before finalizing guard selection
- Test guards with your actual workpieces to confirm they do not interfere with the cut
- Integrate guard selection into your pre-startup safety checks and operator training
- Reassess guard compatibility when changing blade diameter or fence configuration
Why Guard Type Determines Safety Performance
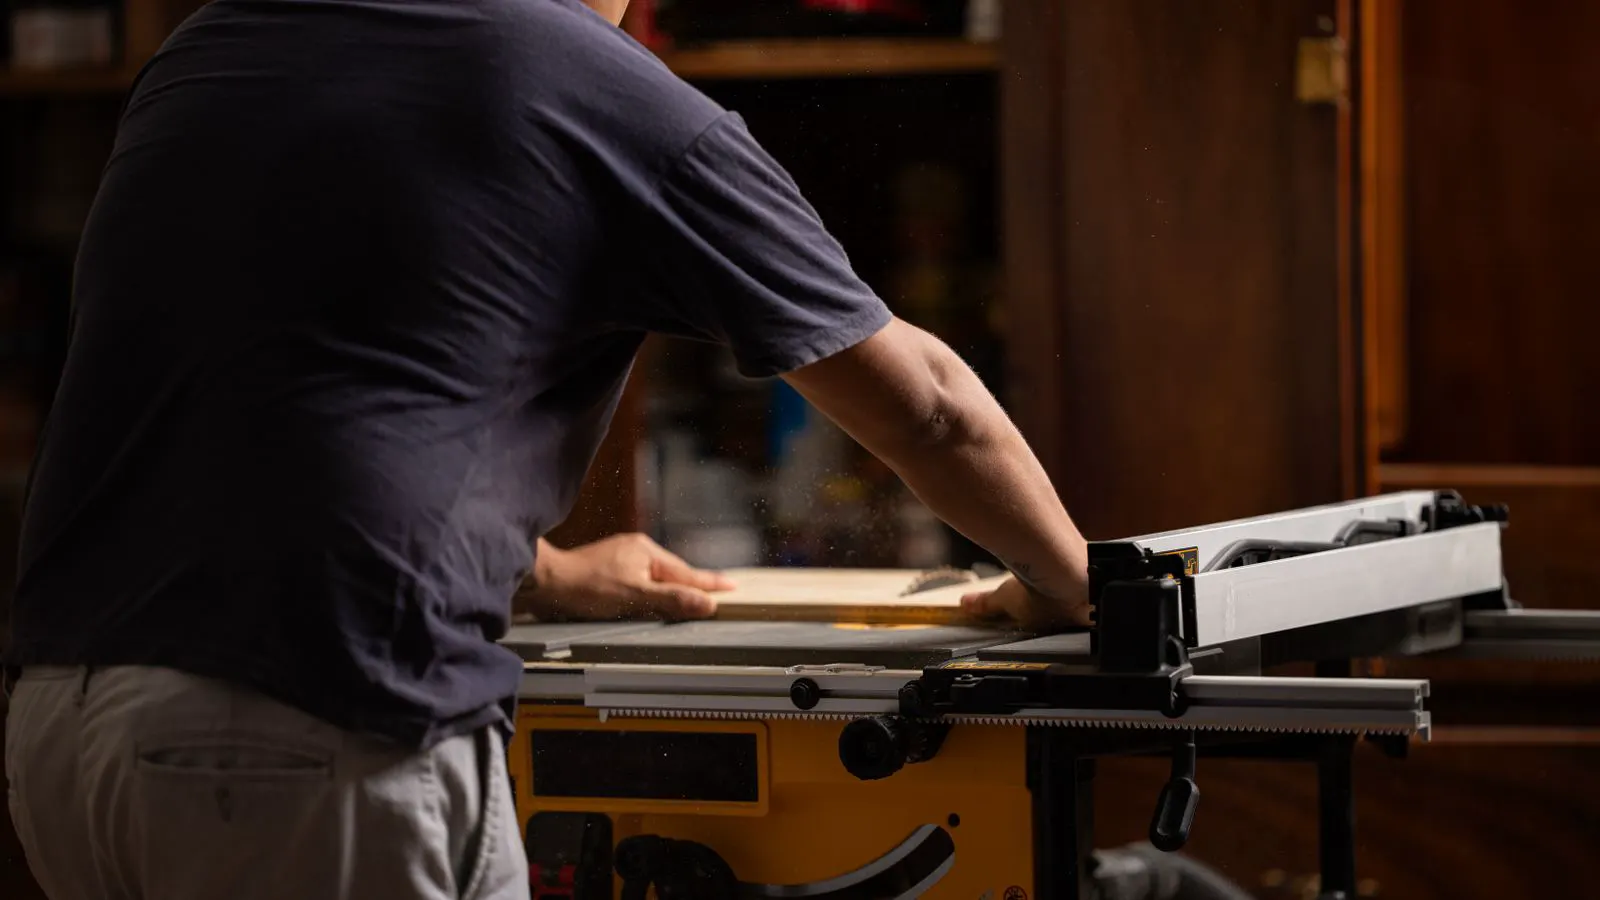
Table saw machine guards protect operators by creating a physical barrier between the hand and the rotating blade. The guard is not a single universal component. It is a system of parts that must work together with the blade, fence, table, and workpiece. Selecting the wrong guard does not eliminate risk. It can create new failure points.
The primary failure mode in table saw operations is hand contact with the blade during a rip cut or crosscut. When an operator feeds a workpiece past the blade, the teeth can catch the wood and accelerate the piece toward the operator. This is kickback. A guard placed correctly above the blade reduces the surface area of the blade exposed to the hand. It also prevents the workpiece from riding up into the blade gap.
Guard selection is a workflow decision. A shop that performs mostly long rip cuts needs a different guard configuration than a shop that makes frequent crosscuts or dado cuts. The guard must allow the workpiece to pass through without binding, rubbing, or deflecting. It must also stay in place under the pressure of a heavy board being cut.
Evaluating Blade Height and Workpiece Clearance
Blade height is the first variable to check before selecting any table saw machine guard. The guard must sit above the blade teeth but below the workpiece. If the guard is too high, it contacts the workpiece and creates friction. If it is too low, it fails to protect the upper portion of the blade.
Measure the blade height at the point where the workpiece crosses the blade. Most table saws allow blade height adjustment. Set the blade so only a small portion of the teeth extends above the table. This reduces the exposed area and lowers the risk of the workpiece catching.
The workpiece thickness matters as well. A guard that works for a two inch board may interfere with a four inch board. Check the minimum and maximum workpiece thickness for your guard. If you regularly cut thick stock, the guard must accommodate that thickness without forcing the operator to lift the blade or remove the guard.
Fence position affects guard interaction. When the fence is close to the blade, the workpiece has less clearance. A guard with a large riving knife or upper section may rub against the fence or the workpiece. Measure the gap between the fence and the blade. Ensure the guard fits within that space without contacting the fence.
Matching Guard Type to the Primary Cut
Rip guards protect during long cuts parallel to the grain. Crosscut guards protect during cuts across the grain. Dado and jointer guards serve different functions. Each guard type has a different shape and contact pattern.
Rip guards typically include a riving knife that stays close to the blade. The riving knife prevents the two sides of the cut from closing together. It also keeps the workpiece from pinching. An upper guard sits above the riving knife and protects the top of the blade. This combination is effective for rip cuts.
Crosscut guards are designed for short cuts perpendicular to the grain. They often include a miter slot cover and a clear section that allows the workpiece to pass. Some crosscut guards include a push stick interface or a fence integration that keeps the operator’s hand away from the blade.
If a shop performs both types of cuts frequently, a modular guard system may be appropriate. This allows the operator to swap between rip and crosscut configurations. The system must be quick to change. If swapping guards takes too long, operators may skip the step or use an improper setup.
Test each guard with your actual workpieces. A guard that works on a small board may fail on a large panel. Check for binding, rubbing, or deflection. Listen for noise. A guard that vibrates or rattles during a cut is not performing as designed.
Selection Criteria for Professional Shop Use
The criteria below help buyers evaluate table saw machine guards for professional workshops. Each criterion addresses a specific failure mode or performance requirement.
| Criterion | What to look for | Why it matters |
|---|---|---|
| Blade height range | Guard must accommodate your maximum blade height and minimum exposed teeth | Prevents guard from contacting workpiece or failing to protect the blade |
| Workpiece thickness range | Guard must clear the thickest stock you routinely cut | Avoids forcing operators to bypass the guard for thick boards |
| Fence compatibility | Guard must fit with your fence and miter slot without interference | Prevents binding and ensures the workpiece tracks straight |
| Material and construction | Guard body should be rigid metal or reinforced polymer | Absorbs cutting forces without flexing or breaking |
| Ease of installation | Guard should mount quickly and securely | Reduces the chance of skipping guard use during setup |
| Maintenance access | Blade and riving knife should be accessible for sharpening and replacement | Keeps the guard system functional over time |
| Operator training fit | Guard design should match the shop’s standard operating procedures | Reduces errors and ensures consistent use |
Testing Guards Before Full Production
Do not rely on the guard documentation alone. Test the guard in your shop before putting it into daily production. Run the guard with the fence at multiple positions. Test it with workpieces of different thicknesses and widths. Cut softwood and hardwood if your shop uses both.
Start with a simple rip cut. Feed the workpiece at a steady speed. Watch the guard for movement. Check that the riving knife stays close to the blade without touching the workpiece. Listen for chatter or vibration.
Move to a crosscut. Position the fence at a typical cut length. Run the guard through the cut. Check that the workpiece does not deflect after the blade passes. Verify that the guard does not catch on the workpiece corner.
Test with a push stick. Some guards are designed to be used with a push stick. Others require a different hand position. Ensure the guard does not block the push stick or force the operator into an awkward position.
Record the results. Note any interference, noise, or binding. If a guard fails in one test, do not use it. Select a different type or adjust the blade height. A guard that works in one configuration may fail in another.
Integration with Safety Checks and Training
Table saw machine guards are part of a broader safety system. They must fit into your pre-startup checks and operator training. If the guard is not included in the startup checklist, operators may forget to install it. If the guard is not covered in training, operators may not understand how to adjust or remove it.
Add guard installation and inspection to your pre-startup safety checks. Verify that the guard is present, secure, and adjusted to the correct height. Check that the riving knife is aligned with the blade. Confirm that the guard does not contact the workpiece.
Train operators on the specific guard type they will use. Show them how to install and remove the guard. Demonstrate the correct hand position. Practice with scrap wood before production. Make sure every operator can explain why the guard is there and how it works.
Review guard performance after any blade change or fence adjustment. A new blade may change the optimal guard height. A fence with a different width may affect clearance. Re-test the guard after these changes.
Decision Checklist
Use this checklist when selecting table saw machine guards for your shop.
- Identify your primary cut type. Determine whether you need a rip guard, crosscut guard, or a modular system.
- Measure your blade height range. Confirm the guard accommodates your maximum and minimum settings.
- Check workpiece thickness limits. Ensure the guard clears your thickest routine stock.
- Test fence compatibility. Verify the guard fits with your fence and miter slot without interference.
- Review guard material and construction. Select a guard that remains rigid under cutting forces.
- Confirm installation speed. The guard should be easy to install and secure.
- Integrate the guard into your pre-startup checklist. Make guard verification a standard step.
- Train operators on the guard. Cover installation, adjustment, and correct hand position.
- Test with actual workpieces. Run rip cuts, crosscuts, and varying thicknesses.
- Document results. Record any issues and adjust or replace the guard as needed.
A table saw machine guard is only as effective as its fit to your workflow. The best guard is the one that stays in place, allows clean cuts, and keeps the operator’s hands away from the blade. Select based on your specific setup and test before you rely on it.
Frequently asked questions
Can a rip guard be used for crosscuts?
Most rip guards are not designed for crosscuts. Crosscuts require a different guard configuration that protects the workpiece as it passes perpendicular to the grain. Use a crosscut guard or a modular system for those cuts.
What should I do if the guard contacts the workpiece?
Adjust the blade height or fence position. If the guard still contacts the workpiece, the guard may not be compatible with your workpiece thickness or fence setup. Do not force the cut.
Is a riving knife part of the guard system?
Yes. The riving knife is a critical component of a rip guard system. It keeps the cut open and reduces kickback. It should be aligned with the blade and checked during pre-startup inspections.
How often should I inspect the guard?
Inspect the guard before each shift or before production starts. Check for damage, loose mounting hardware, and proper alignment. Perform a deeper inspection after any blade change or fence adjustment.
What is the difference between a guard and a push stick?
A guard is a fixed or semi-fixed device that protects the operator from the blade. A push stick is a hand tool that keeps the operator's hand away from the blade during the final part of a cut. They work together but serve different functions.