Selecting the right industrial panel saw depends on matching capacity, speed, and automation to your production volume. Prioritize blade quality, fence accuracy, and dust collection to maintain cut integrity. Evaluate total cost of ownership, including maintenance and setup, before finalizing your purchase.
- Match saw capacity and speed to your daily production volume and material dimensions.
- Prioritize fence accuracy and blade quality to reduce offcuts and rework.
- Evaluate dust collection and maintenance access to protect operator safety and machine life.
- Include setup, training, and spare parts in your total budget to avoid hidden costs.
- Test the saw with your specific materials before signing the purchase order.
High volume woodworking demands more than a reliable blade and a sturdy frame. The panel saw must handle repeated cuts without losing accuracy, speed, or safety. A poorly matched machine creates bottlenecks, increases scrap, and forces operators to work around limitations. The goal is a setup that matches the specific rhythm of your production line. If the saw stops to be adjusted, the line stops. If the cut drifts by a few millimeters, the next component may not fit. This article breaks down the technical and operational factors that determine whether a panel saw serves your shop or becomes an obstacle.
How to Define Your Production Requirements
Start by measuring your actual workload, not your idealized one. Record the maximum panel dimensions you cut daily. Note the material types, from plywood to MDF, and the thickness range. Track the number of cuts per hour required to meet shipping deadlines.
If your shop processes large panels for furniture or cabinetry, a larger table and longer fence become necessary. If you handle smaller components or edge work, a mid-sized saw may offer better precision. Document the number of operators and their shift patterns. This data drives the choice between a manual setup and an automated feed system.
Look at the geometry of your typical job. A cabinet shop might cut a 4 by 8 sheet into three face frames, two top rails, and two side pieces. A door shop might cut narrow stiles and rails from 3/4 inch stock. The difference matters. A large table is useless if the fence cannot slide precisely across the short width of a door stile. Conversely, a compact saw is insufficient if you are cutting full sheet goods for shelving.
Consider the variation in your mix. If 80 percent of your cuts are cross-cuts at 90 degrees, the machine does not need a complex miter system. If you frequently cut angled miters for picture frames or trim, the accuracy of the miter arm becomes a primary selection criterion. Record the thickness variation. Are you cutting 18mm standard panels, or do you receive 17mm or 19mm stock from different suppliers? This variation affects the setup of the blade and the need for adjustable supports.
Finally, define your quality standard. What is the acceptable tolerance for a cross-cut? For a panel that will be glued to a carcass, a 0.5 mm error might be acceptable. For a face frame that must fit a door opening, 0.5 mm is too much. The tighter the tolerance, the more you need to pay for precision in the fence and table geometry.
Key Specifications That Drive Performance
| Criterion | What to look for | Why it matters |
|---|---|---|
| Table Size | Matches max panel dimension with clearance | Prevents overhang and supports large sheets |
| Blade Capacity | 24-inch to 36-inch diameter options | Determines max cut depth and kerf |
| Feed Mechanism | Manual, semi-auto, or full automation | Matches production speed and labor cost |
| Fence Accuracy | Sub-millimeter repeatability | Ensures consistent cross-cut dimensions |
| Power Supply | 220V/400V, 3-phase vs. single-phase | Supports sustained high-load cutting |
| Dust Collection | Integrated or external system connection | Maintains visibility and reduces fire risk |
The table size must accommodate the largest panel you will cut. Overhang creates vibration and reduces accuracy. A larger table also allows for better material support during the cut. If the panel extends past the table edge, it can pivot as the blade enters. This causes the cut to wander. The table should extend at least 150 mm past the blade housing on the feed side and provide sufficient support on the exit side. If you are cutting 2440 mm sheets, the table must be long enough to support the full width when the fence is pushed to the limit.
Blade diameter dictates the maximum depth of cut. A 24-inch blade handles standard plywood thicknesses. Larger diameters, such as 30 or 36 inches, are needed for thick laminates or multi-layer panels. The kerf width also affects material waste. A narrower kerf saves material but may require a more expensive blade. A 0.5 mm kerf saves more material than a 1 mm kerf. However, thin kerf blades tend to be more flexible and may chatter if the machine is not perfectly rigid. For high volume production, the cost of extra material saved may be offset by the cost of frequent blade changes. Match the blade to the machine’s spindle speed and the material’s hardness. Soft woods allow for higher speeds and thinner kerfs. Hardwoods and MDF require slower speeds and often a wider, more rigid blade.
Power supply is often overlooked. A 3-phase motor provides smoother power delivery than a single-phase unit. For heavy cutting loads, the motor should have a continuous rating that exceeds the peak load. If the motor is undersized, it will overheat during long runs. Check the voltage compatibility. A machine designed for 400V three-phase power will not run on standard 220V single-phase without a transformer or a dedicated three-phase circuit. Ensure your electrical plan supports the machine’s amperage draw.
Evaluating the Fence and Guide System
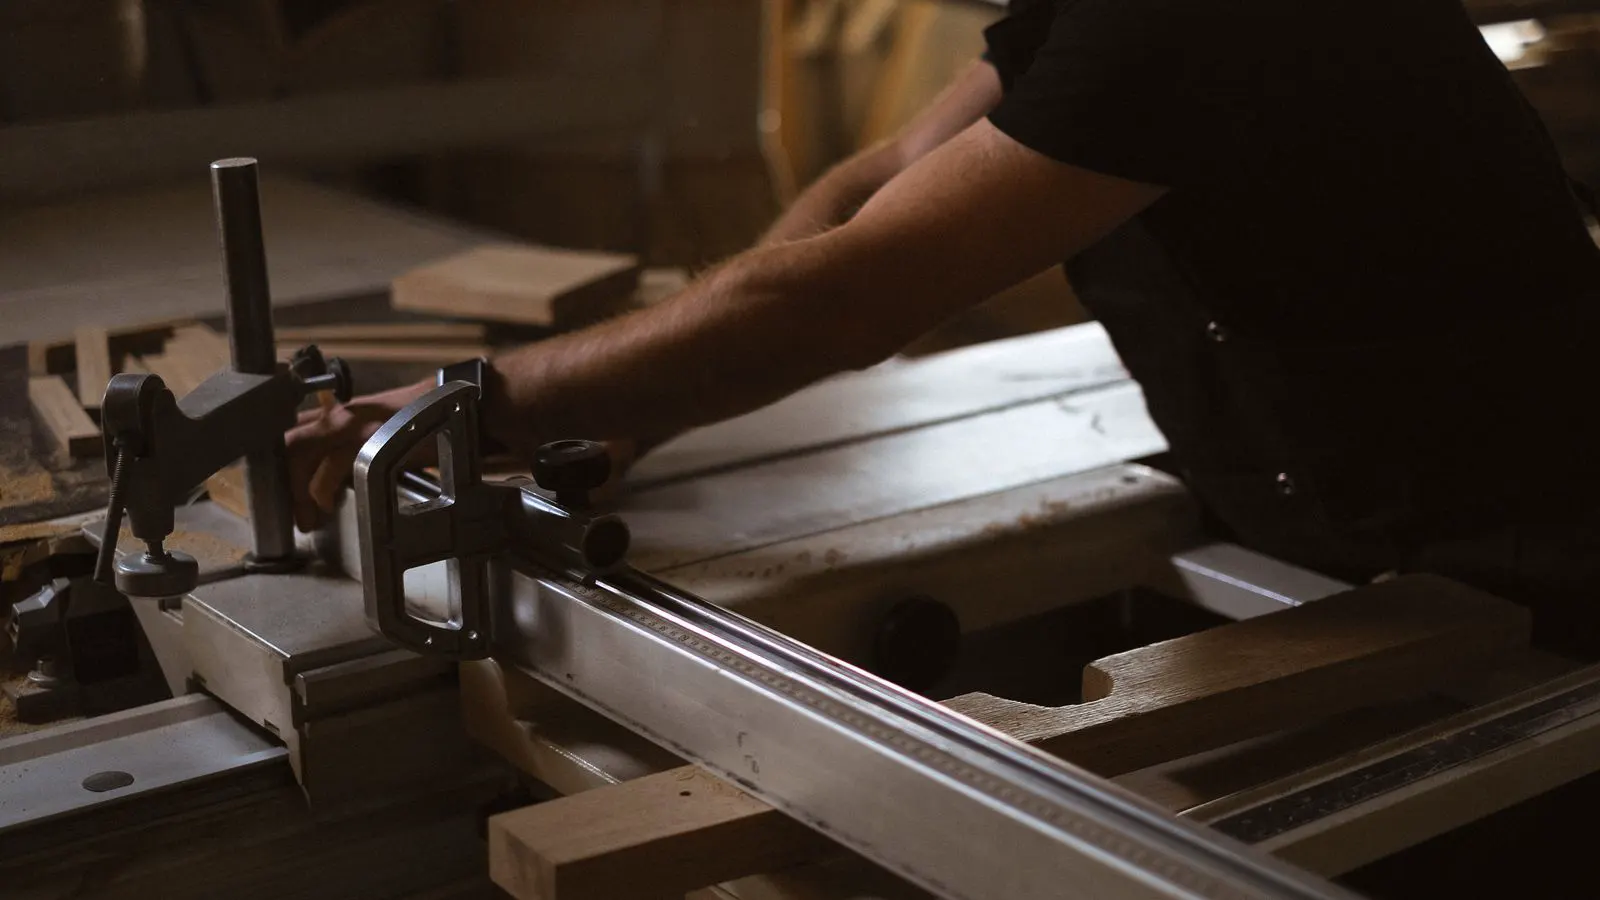
The fence is the backbone of panel saw accuracy. For high volume production, a basic sliding table is not enough. You need a precision-guided system that maintains parallelism under load. Check the linear guides. They should be hardened steel or equivalent materials with low-friction bearings.
Measure the fence travel and ensure it covers your full cutting range. A fence that is too short limits your ability to make multiple cuts on a single panel. Test the locking mechanism. It must hold position firmly without drifting. Any play in the fence translates directly to cross-cut error.
The miter gauge or cross-cut arm, if present, must lock positively. Avoid models where the arm relies on friction alone. A mechanical latch or cam lock is preferable. This ensures that the angle remains constant during the cut. For shops that make angled cuts, the angle scale should be clear and easily readable.
Look at the fence construction. A solid cast iron or heavy steel frame is preferred over a thin aluminum profile. The fence should not twist when you push the panel through. Check the parallelism of the fence face against the table. Use a precision level or a straightedge to verify. If the fence is not parallel to the table, the cut will be off-angle even if the miter arm is set to 90 degrees.
Inspect the slide mechanism. Ball bearings are standard for high-end machines. They reduce friction and allow for smooth movement. Check for backlash. Move the fence back and forth and feel for any slop. If you can push the fence sideways, it is not aligned. This play will show up in your cuts as a deviation from the intended dimension.
Check the locking clamps. They should apply even pressure across the fence width. A clamp that only tightens one side can twist the fence. Look for a cam or screw mechanism that allows fine adjustment. You should be able to lock the fence with a firm hand, not by forcing a lever. If the lock requires excessive force, it may damage the mechanism over time.
Automation and Operator Interface
High volume shops often use semi-automatic or fully automatic feed systems. These systems reduce the need for manual handling and increase cut consistency. A semi-auto system may use a pusher bar or a pneumatic arm to feed the panel. A fully automatic system uses a robotic arm or conveyor to position and feed the material.
Consider the operator interface. A digital control panel with presets is useful for repeated jobs. It allows you to save cut sequences and dimensions. If you produce multiple product types, the ability to store and recall these sequences saves setup time.
Manual controls are simpler and cheaper. They work well if your production is consistent and your operators are skilled. However, manual feeds are slower and more prone to human error. In a high volume environment, this can lead to inconsistent cut lengths and increased scrap.
Evaluate the complexity of the automation. A simple pusher bar is easy to maintain and less expensive than a full robotic feed. A pusher bar pushes the panel against the fence and stops at a set distance. It is effective for cross-cuts. For miters, a pusher bar may not be sufficient if the panel is large and heavy. A robotic arm can handle the weight and position the panel precisely. However, robotics add cost and complexity.
Check the interface for usability. The controls should be clear and responsive. If the operator has to hunt through menus to set a cut, it slows down production. A good interface allows you to set the cut length, angle, and number of cuts with a few button presses. Some systems include a display that shows the remaining stock and the number of cuts made. This helps track output and detect errors early.
Consider the integration with your existing software. If you use a CAD/CAM system, does the panel saw connect to it? If you can send cut files directly from the design software to the saw, you reduce manual data entry. This is particularly useful for complex jobs with many different cut sizes. If the connection is not available, you may need to manually enter each cut, which takes time and increases the risk of error.
Dust Collection and Safety Features
Panel saws generate significant dust and sawdust. In a high volume shop, dust accumulation is a constant risk. The saw must have a dust collection port that connects to your shop’s central system. Check the size of the port. A larger port reduces static buildup and improves dust extraction.
Safety is not optional. Look for a blade guard that retracts automatically. A riving knife or splitter must be present to prevent kickback. The emergency stop button should be accessible and clearly marked. Some models include a light curtain or safety sensor that stops the blade if an operator’s hand is in the cut zone.
Operator training is critical. Even the best safety features fail if operators do not understand them. Plan for a training session before the saw goes into production. Include hands-on practice with the specific blade and material you will use.
Check the dust port diameter. A 150 mm port is standard for many panel saws. If your shop uses a larger diameter central system, you may need an adapter. A mismatch in diameter can restrict airflow and reduce extraction efficiency. The port should be positioned to capture dust at the source. If the port is too far from the blade, dust can escape into the air before it is captured.
Inspect the blade guard. It should cover the blade when not in use and retract smoothly as the panel enters. A sticking guard is a safety hazard. It can cause the operator to stop the cut or remove the guard, which is dangerous. Test the guard with a piece of scrap wood. It should retract without binding.
Check the riving knife. It should sit just behind the blade and extend slightly above the table. It prevents the two sides of the cut from pinching together and kicking the panel back. If the riving knife is missing or damaged, replace it before use. It is a cheap part that saves hands.
Verify the emergency stop. It should be a mushroom-head button that is easy to reach. Test it. The blade should stop immediately. The motor should cut power, not just slow down. A slow stop can be dangerous if the blade is still rotating and the operator is close to the cut zone.
Total Cost of Ownership and Maintenance
The purchase price is only part of the equation. Factor in installation, electrical work, and floor preparation. A large industrial panel saw may require a dedicated circuit and a reinforced floor. Shipping and customs costs can add significantly to the total.
Maintenance includes blade replacement, lubrication, and alignment checks. Plan for regular blade changes. A dull blade increases power draw and creates rough cuts. Keep spare blades on hand. The cost of a blade is small compared to the downtime caused by a breakage.
Consider the availability of parts and service. If the manufacturer does not have local support, you may face long repair times. This can halt production. Check the service network before buying. A local service partner is a valuable asset in a high volume environment.
Calculate the cost per cut. This includes the price of the blade, the electricity used, and the labor time. A more expensive machine that cuts faster and with less scrap may be cheaper in the long run. Compare the cost per cut for different configurations. If you are cutting 1000 panels a day, a small difference in cut speed or accuracy can add up to a significant amount over the year.
Budget for upgrades. You may start with a manual setup but decide to add automation later. Choose a machine that allows for this. Some saws have ports or mounts for additional accessories. If you buy a basic model, you may find that adding automation later is difficult or impossible.
Check the warranty. A good warranty covers the motor, the fence, and the electrical components. Look for a warranty that covers parts and labor. A parts-only warranty is less valuable because you will pay for labor if something breaks.
Final Decision Checklist
Use this checklist to evaluate your options. Print it and take it to the showroom or use it during a virtual tour.
- Panel Size: Does the table and fence accommodate your largest panel?
- Blade Capacity: Can the blade handle your material thickness and cut depth?
- Speed: Does the feed system match your required cuts per hour?
- Accuracy: Is the fence linear guide system capable of sub-millimeter repeatability?
- Dust Collection: Does the saw connect to your existing dust system?
- Safety: Are the blade guard, riving knife, and emergency stop in place?
- Support: Is local service and parts available?
- Budget: Does the total cost, including installation and maintenance, fit your allocation?
If you can check most of these items, you are on track. If not, revisit the previous sections. The right panel saw selection is a balance of performance, reliability, and cost. Choose the machine that handles your workload without forcing compromises.
Common Mistakes to Avoid
Do not buy a saw based on a single demonstration. Test it with your specific materials. Run it at your production speed. Measure the accuracy of the cuts.
Do not ignore the floor. A panel saw that is not level will cut inaccurately. Ensure the floor is flat and the machine is properly leveled during installation.
Do not underestimate dust collection. Poor extraction leads to reduced visibility and increased health risks. It also clogs the machine and reduces blade life.
Do not skip training. Operators who do not understand the machine are a liability. Invest in proper training and documentation.
Frequently asked questions
What is the minimum table size for a high volume panel saw?
The minimum table size depends on your largest panel. A standard 24-inch blade saw typically has a table around 60 by 60 inches. Larger panels require a bigger table.
How do I know if I need an automated feed system?
If your production volume is high and you have a consistent mix of panels, automation pays off. It increases speed and reduces labor costs. If your work is varied, a semi-auto or manual system may be better.
What blade size should I choose for plywood?
A 24-inch blade is standard for most plywood thicknesses. If you cut thicker panels or need a larger cut depth, a 30-inch or 36-inch blade is necessary.
How often should I replace the saw blade?
Blade life depends on the material and cut volume. In high volume production, blades may need replacement weekly or monthly. Inspect the blade regularly for wear and glazing.
Can I upgrade a manual panel saw to semi-auto?
Some manufacturers offer retrofit kits. Check with the manufacturer before considering an upgrade. Not all models are compatible, and the retrofit may not be cost-effective.