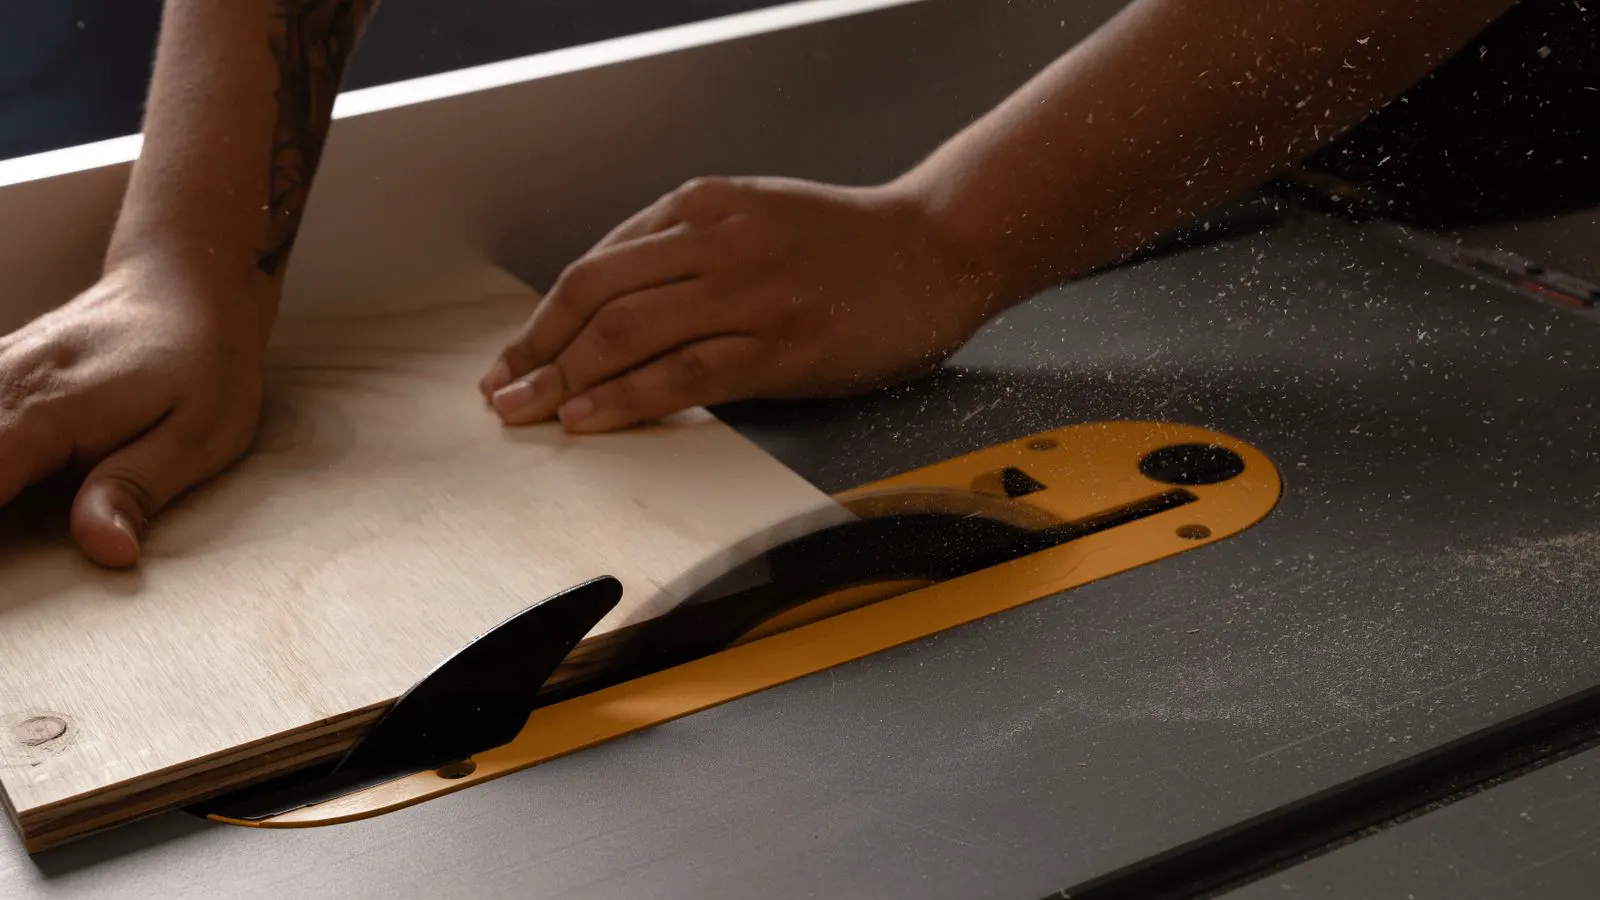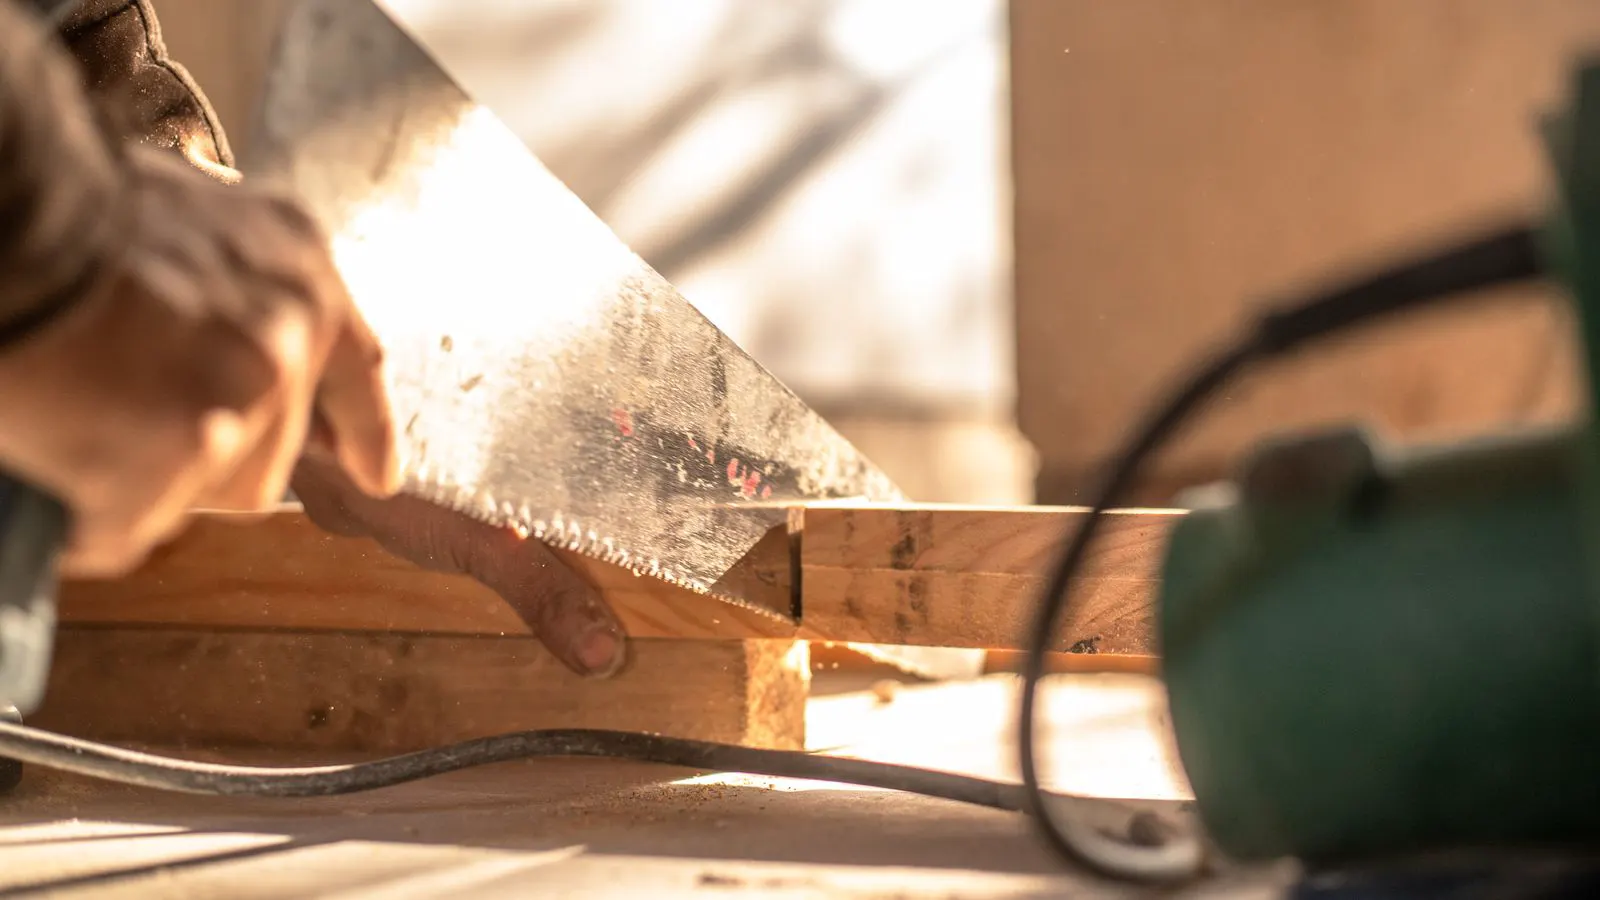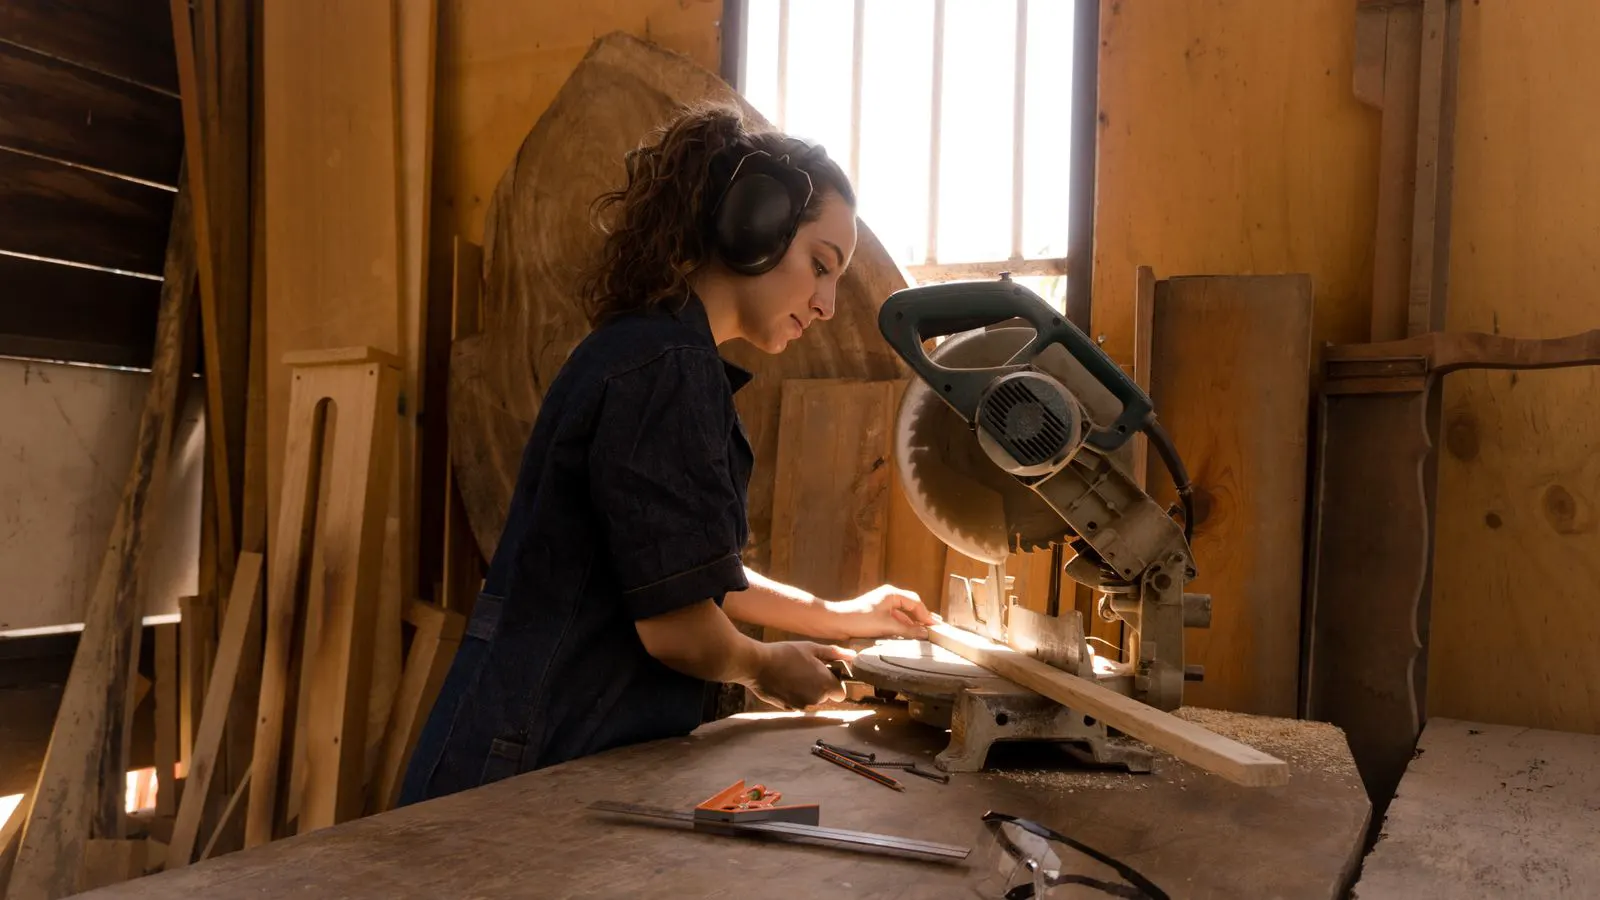
A burnt or chipped blade signals misalignment, improper feed, or dull teeth. This guide lists common symptoms, root causes, and maintenance steps. It covers runout checks, arbor balancing, and feed discipline to extend blade life.
- Inspect tooth geometry and arbor runout before blaming the workpiece.
- Match feed speed to blade tooth count and material to prevent heat buildup.
- Use balanced arbor spindles and check guard clearance during routine maintenance.
- Log blade hours and replace at manufacturer specifications to avoid safety hazards.
- Verify motor current draw and feed pressure to catch mechanical strain early.
A burnt or chipped blade stops a production line and creates a safety hazard. Woodworking shops often replace a circular saw blade immediately after visible damage, but this treats the symptom rather than the cause. Premature blade failure usually stems from mechanical misalignment, improper feed technique, or neglect of routine saw maintenance.
Operators and maintenance engineers need a structured approach to diagnose these issues. The following sections break down common failure patterns, identify root causes, and provide practical fixes.
What does a burnt or chipped blade actually look like?
Visual inspection is the first step in any troubleshooting routine. Burnt blades show discoloration near the teeth, often ranging from amber to black. The metal near the cutting edge may appear pitted or rough to the touch. Chipped blades show physical breakage in the teeth, often with a sharp, jagged edge.
Sometimes both conditions appear together. If the blade was forced through a dense knot or an unanticipated hard object, the teeth may chip from the impact. If the blade ran at an excessive speed or the arbor was unbalanced, the friction may heat the metal before any physical damage occurs.
Look closely at the pattern of the damage. A uniform blackening across all teeth points to a systemic issue like heat buildup. A single blackened tooth or a chipped tooth on one side suggests a localized event, such as hitting a nail or a hard knot. The location of the damage is a diagnostic clue. Damage on the leading edge of the tooth often indicates a sudden impact. Damage on the trailing edge or the flat of the tooth usually points to friction and heat.
Check the base of the blade as well. If the discoloration is concentrated near the center, the problem is likely in the mounting hardware or the arbor. If the heat is distributed evenly across the cutting diameter, the issue is usually the workpiece, the feed rate, or the tooth condition.
How to diagnose the root cause of blade damage
The table below maps visible symptoms to likely mechanical or operational causes. Use this matrix to narrow down the problem before replacing the blade.
| Symptom | Likely cause | What to do |
|---|---|---|
| Uniform burn discoloration on teeth | Excessive feed rate or dull teeth | Check feed speed settings and sharpen or replace the blade |
| Localized chipping on one tooth | Hard knot or metal inclusion in wood | Inspect workpiece for inclusions and replace the damaged tooth |
| Uneven wear on one side of blade | Arbor misalignment or blade runout | Check blade runout and ensure arbor is straight |
| Burn marks on the blade base | Unbalanced arbor or loose mounting nut | Balance the arbor and torque the mounting hardware to spec |
| Ragged cuts with minor scorching | Improper guard tension or blade dullness | Adjust guard clearance and verify tooth sharpness |
| Vibration marks on blade surface | Worn bearings or loose motor mount | Inspect spindle bearings and secure the motor base |
Diagnosis requires more than a visual check. Operators should listen to the sound of the saw during a test cut. A healthy blade cuts with a consistent pitch. A dull or misaligned blade may produce a grinding noise or a change in pitch that indicates increased load on the motor.
Pay attention to the smell. A sharp, acrid odor of burning plastic or resin indicates the blade is generating excessive heat. A faint scent of hot metal suggests friction. If the sound changes from a steady hum to a harsh squeal, stop the saw immediately. Continuing to cut under these conditions can fracture the blade or damage the spindle.
How to check blade runout and arbor alignment
Blade runout is a common cause of premature damage. When the blade does not rotate in a perfect plane, the teeth contact the workpiece at an uneven angle. This creates excessive friction and heat.
To check runout, mount the blade on the arbor and secure it with the correct flange. Use a dial indicator or a simple straightedge and a feeler gauge. Measure the deviation between the blade edge and the reference surface at the top and bottom of the rotation.
If the runout exceeds the manufacturer tolerance, the blade or arbor needs attention. A bent blade can often be straightened if the metal is not cracked. A bent arbor is usually replaced. A loose mounting nut allows the blade to shift slightly during rotation, creating runout even if the blade itself is straight.
Use a torque wrench to tighten the mounting nut. Over-tightening can warp the blade, while under-tightening allows the blade to shift. Follow the manufacturer’s torque specification. If the arbor is worn or the threads are stripped, the blade will not seat flat, causing vibration.
Check the arbor straightness with a straightedge. Place the straightedge against the arbor and look for gaps. If the arbor is bent, replace it. A bent arbor cannot be repaired reliably. The blade must rotate in a plane parallel to the fence and the table.
How to match feed rate and tooth count
Feed rate is the second most common cause of burnt blades. Pushing the workpiece too fast against a dull blade or a blade with too few teeth per inch creates high friction. The blade cannot cut efficiently, and the heat builds up in the cutting edge.
Tooth count matters. A blade with fewer teeth per inch cuts faster but produces a rougher finish. It handles softwoods well but struggles with hardwoods. A blade with more teeth per inch cuts slower but produces a finer finish. It requires more power and is more prone to burning if the feed rate is too aggressive.
Select a tooth count that matches the primary material. For mixed-use shop work, a medium tooth count offers a balance. When cutting dense hardwoods, reduce the feed pressure. When cutting softwoods, you can increase the feed rate slightly. Always test on scrap material before starting production.
Match the blade to the cut. A rip cut requires fewer teeth than a crosscut. A rip blade has fewer teeth per inch, allowing it to remove more wood with each pass. A crosscut blade has more teeth per inch, providing a smoother finish on the face of the board. Using the wrong blade for the cut increases stress on the teeth and the motor.
If the saw slows down under load, the blade is overloaded. Stop the cut and inspect the workpiece. Look for hidden knots, embedded nails, or a change in wood density. Adjust the feed rate to match the material.
How to inspect the arbor and spindle
The arbor is the shaft that holds the blade. It must be straight, clean, and properly balanced. A dirty arbor causes the blade to sit unevenly. A worn spindle bearing allows the arbor to wobble, creating runout.
Clean the arbor with a solvent wipe before mounting the blade. Remove any old wood dust, resin, or metal shavings. These particles can prevent the blade from seating evenly. Check the spindle bearing play by grabbing the arbor and trying to rock it. There should be no vertical or lateral movement.
If the bearing feels gritty or loose, replace it. Worn bearings create vibration that transmits directly to the blade. This vibration can loosen the mounting nut over time, leading to runout and uneven wear.
Inspect the arbor for wear. The arbor should be smooth and free of scratches. If the arbor is worn, the blade will not hold a true position. Replace the arbor if the threads are damaged or the surface is grooved.
Check the spindle housing for cracks or wear. A damaged housing can cause the spindle to shift, altering the alignment of the blade relative to the table and fence. This shift creates uneven cutting pressure and can lead to blade damage.
How to verify guard clearance and safety features
Saw guards are critical for safety, but they can also contribute to blade damage if they are misaligned. A guard that is too tight against the blade creates friction. This friction generates heat and can burn the blade surface.
Check the guard clearance during routine saw maintenance. The guard should not contact the blade when the saw is idle. If the guard touches the blade, adjust the guard position or replace the guard assembly. A damaged guard may also have burrs that catch the blade edge.
Ensure the guard is functioning correctly. A guard that does not retract properly can impede the blade during a cut. This can cause the blade to bind, leading to kickback and potential damage.
Adjust the upper and lower guards so they clear the blade by a small margin. This margin should be consistent around the blade diameter. If the guard rubs the blade, the friction will cause the blade to heat up and may cause the guard to warp or break.
Check the spring tension on the retracting guard. If the spring is weak, the guard may not retract quickly enough, causing it to contact the blade. If the spring is too strong, the guard may snap back too aggressively, potentially damaging the blade or the mechanism.
How to implement a blade replacement and maintenance schedule
Prevention is more effective than troubleshooting. Establish a maintenance schedule that includes regular blade inspection and replacement. Track the hours or cuts per blade. Replace the blade before it becomes dull or damaged.
Store blades in a dry place. Moisture causes rust, which dulls the teeth and creates uneven cutting. A rusted blade can chip more easily because the metal is weakened. Keep blades flat to prevent warping.
Train operators on proper feed technique. Rushing through a cut is a common mistake. Maintain a consistent feed pressure and allow the blade to do the work. If the saw slows down, the blade is overloaded. Stop the cut and inspect the workpiece.
Create a checklist for daily saw inspection. This checklist should include checking the blade for chips, burn marks, or dullness. It should also include checking the arbor, the guard, and the spindle. A daily check takes five minutes and can prevent a major failure.
Log the hours on the saw. Use this data to schedule blade replacements. A blade that has been used for a certain number of hours may be near the end of its life. Replacing it proactively is cheaper and safer than replacing it after it fails.
How to document findings to prevent repeat failures
Keep a log of blade failures. Record the date, material, blade type, and observed symptoms. This data helps identify patterns. If a specific blade type consistently fails on a certain material, review the tooth count or blade design.
Review the log during maintenance meetings. Share findings with operators. A common mistake is blaming the operator when the issue is mechanical, or blaming the machine when the issue is technique. Documentation helps separate these variables.
Include the feed rate and the operator’s name in the log. This helps identify if a specific technique or material is causing the problem. If a specific operator is responsible for most of the failures, provide additional training. If a specific material is causing most of the failures, review the cutting parameters.
Use the log to improve the maintenance schedule. If a certain blade type consistently fails after a certain number of cuts, adjust the replacement schedule. If a specific material causes most of the burn marks, review the feed rate for that material.
Documenting findings creates a record of the saw’s health. This record can help identify trends and predict future failures. It also helps in troubleshooting new issues by providing context about past events.
Frequently asked questions
Can I use a chipped blade if only one tooth is damaged?
No. A chipped tooth creates an uneven cutting edge that will damage the workpiece and the rest of the blade. Replace the blade or have a professional sharpen the entire set of teeth.
How often should I check blade runout?
Check runout whenever you change blades, after a kickback event, or during scheduled saw maintenance. Do not wait for visible damage to appear.
What is the main difference between burnt and chipped blades?
Burnt blades result from excessive heat due to friction, dull teeth, or misalignment. Chipped blades result from physical impact, such as hitting a hard object or a knot.
Does an unbalanced arbor cause blade burn?
Yes. An unbalanced arbor creates vibration and runout, which increases friction and heat. Balance the arbor and check the spindle bearings.
How do I know if the feed rate is too fast?
If the saw motor sounds strained, the blade slows down, or the cut produces scorch marks, the feed rate is too high. Reduce the feed pressure and allow the blade to cut at its natural speed.