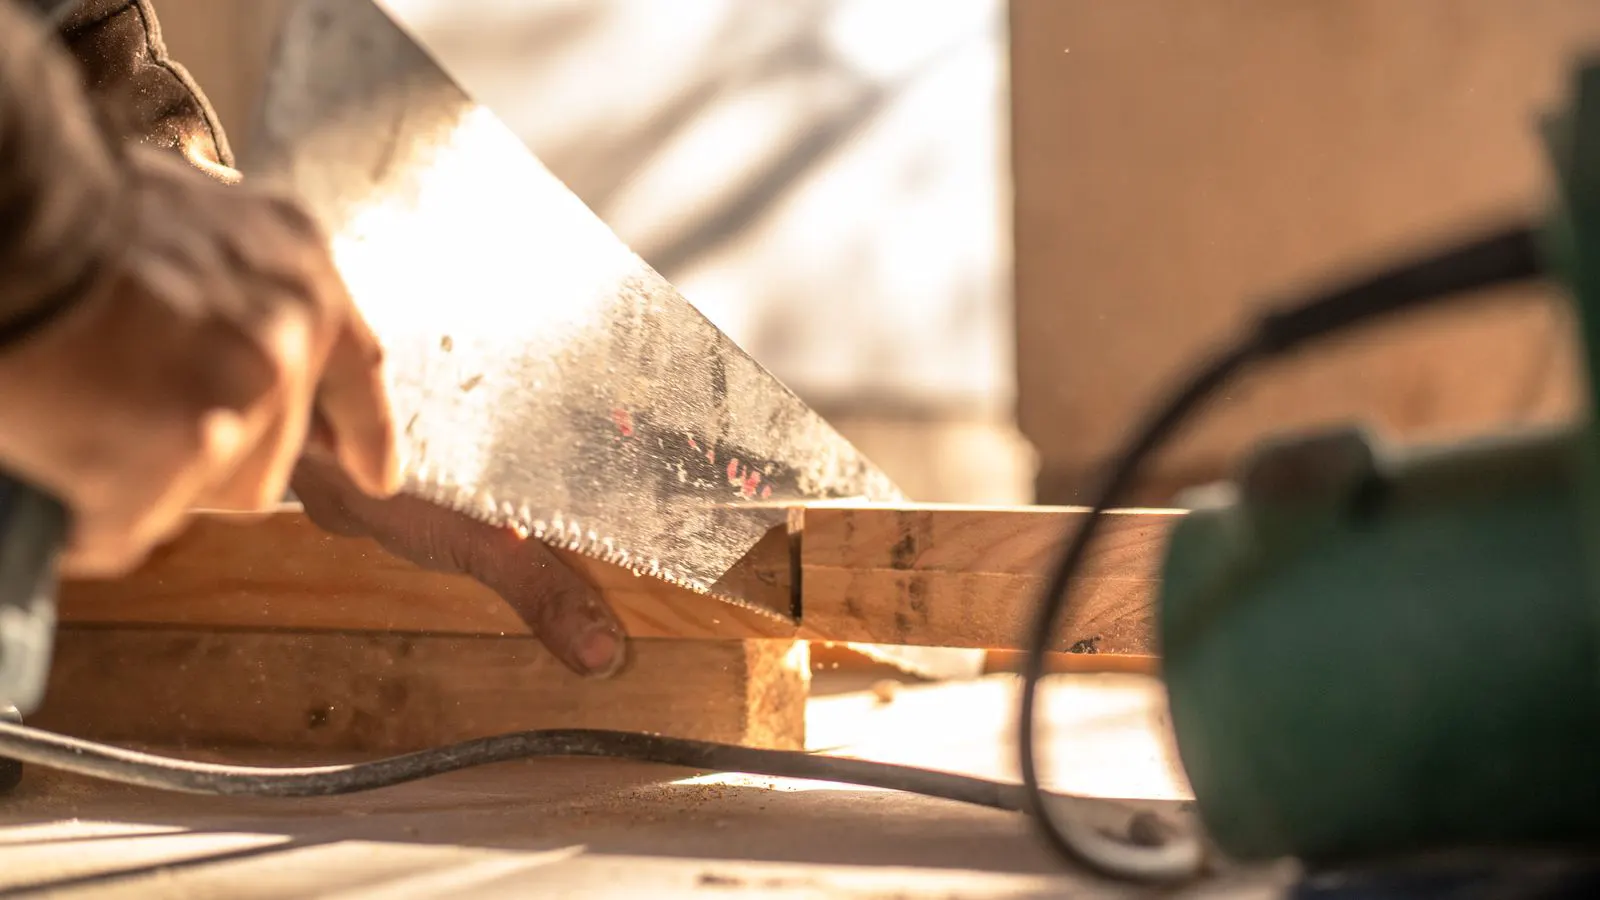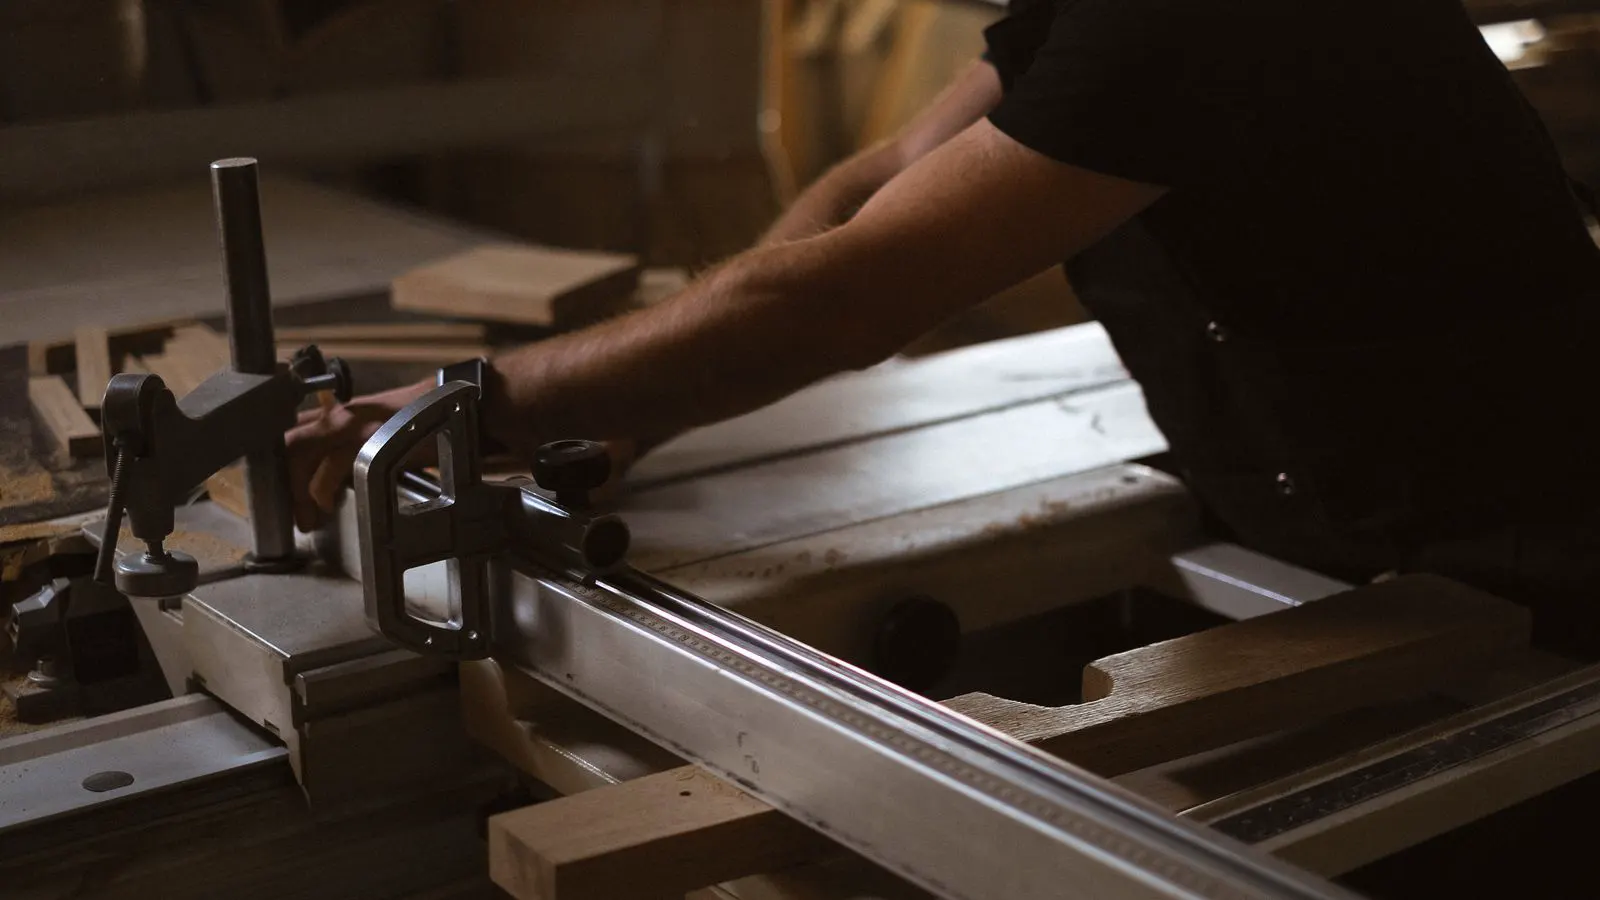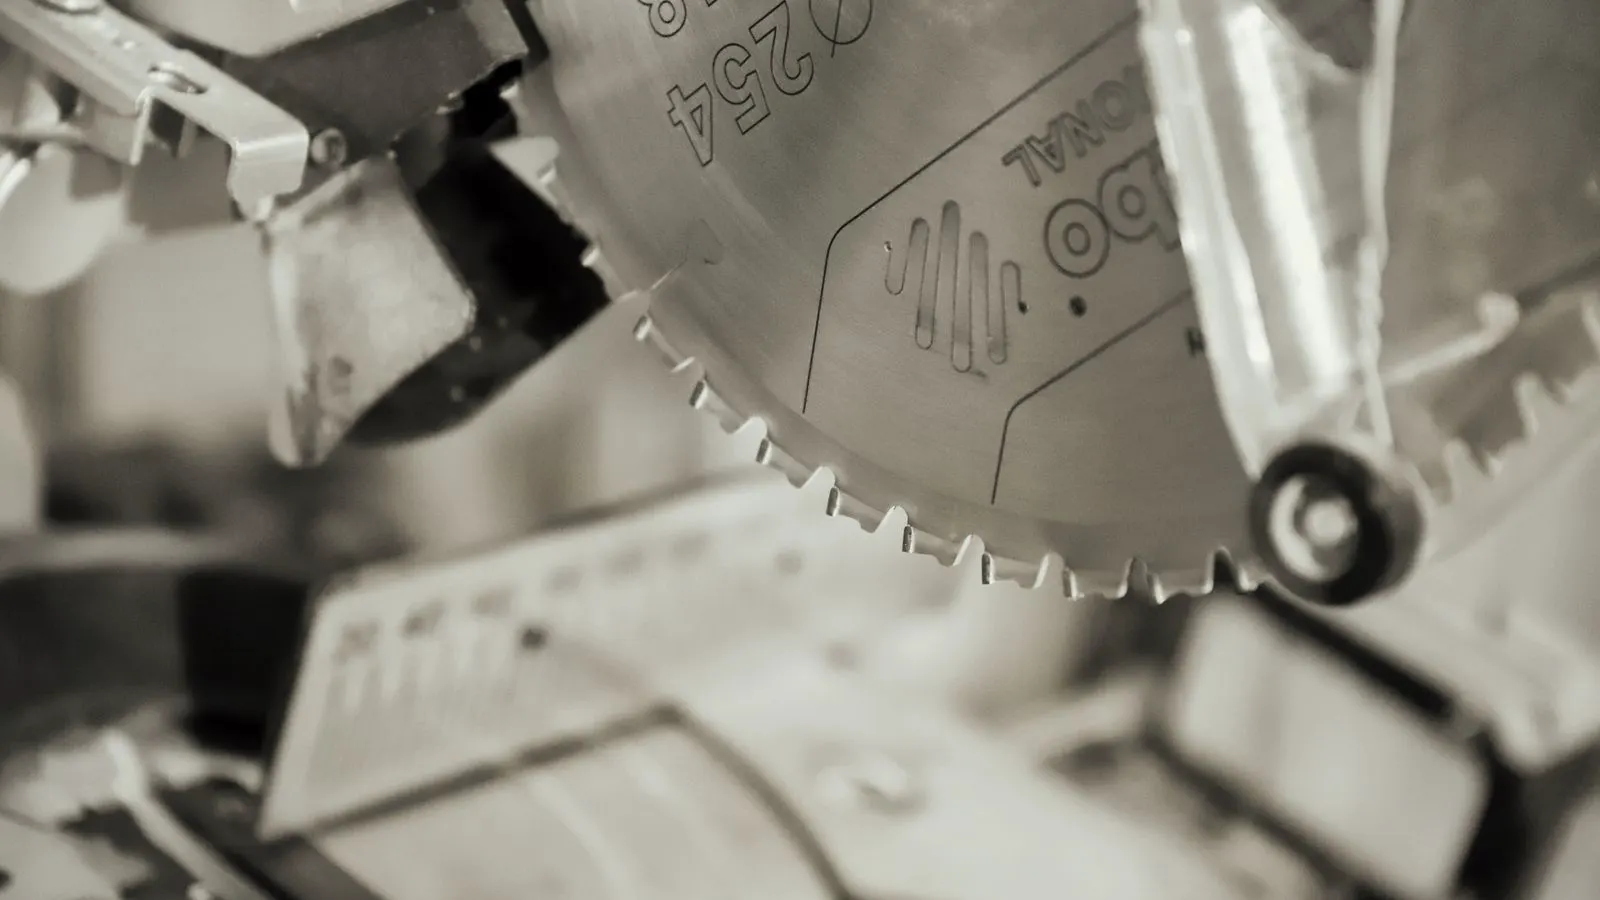
Run these five checks before starting a shift: inspect the blade for damage, verify tooth condition, confirm arbor fit, check for runout, and review the guard system. This quick audit prevents binding, protects operators, and maintains cut quality on industrial table saws.
- Inspect the blade edge and teeth for chipping, burn marks, or missing sections before every shift.
- Check the arbor bore for wear and debris to ensure a secure, concentric fit for the circular saw blade.
- Measure runout with a dial indicator to catch wobble before it damages workpieces or the arbor.
- Verify the guard and riving knife alignment to maintain safe and consistent cutting depth.
- Maintain a log of findings to track wear trends and schedule blade replacement before failure.
A damaged circular saw blade is a direct cause of operator injury and machine damage. Most industrial table saws run high volumes, and a small defect in the blade assembly can turn into a catastrophic failure within minutes. This checklist provides five specific inspection points to run before the first cut of the shift.
1. Visual Inspection of the Blade Edge and Body
Start with a full visual sweep of the blade. Hold it under good light and rotate it slowly. Look for physical damage to the outer edge, the teeth, and the hub. Use a clean, dry cloth to wipe away dust before you begin. Wood dust obscures fine fractures, and grease hides heat discoloration. If the blade has been stored in a humid environment, check for rust on the teeth first. Rust weakens the cutting edge and causes the blade to grab the workpiece during the initial entry.
Check for:
- Cracks or fractures in the steel, especially near the hub and the outer rim.
- Deep gouges or dents on the flat face of the blade.
- Missing or broken teeth.
- Discoloration or heat marks indicating previous overheating or binding.
A small chip on a tooth can act as a wedge, forcing the blade out of alignment. This causes the workpiece to jump, which can eject the material into the operator’s path. Heat marks are a sign of friction. If you see them, stop and investigate the cause before the next run. Look for a pattern in the discoloration. A dark band across the blade face usually indicates the wood was too dense or too wet for the current blade speed. A localized burn on one tooth suggests the blade was tilted or the workpiece was pinched against the fence.
Do not rely on a single glance. Rotate the blade in both directions if possible. Some cracks are visible only from the back side. Inspect the hub area carefully. The hub experiences the highest stress during startup. A hairline fracture there may not be obvious, but it will propagate quickly under load. If you find any crack, dent, or chip, remove the blade from service immediately. Do not mark it for repair. Replace it. The cost of a new industrial blade is negligible compared to the cost of a repair or an injury.
2. Tooth Condition and Sharpness
The cutting performance of a circular saw blade depends entirely on the tooth geometry. Inspect each tooth individually. Use a magnifying glass if necessary to see fine details. For large diameter blades, use a dedicated tooth gauge to measure the height and rake angle. This ensures consistency across the entire blade. If you do not have a gauge, compare the teeth visually. They should look identical in height and profile.
Assess:
- Tooth alignment. All teeth should be the same height and angle. A bent or bent-back tooth will cut unevenly.
- Burr formation. Sharp burrs on the tooth edges catch wood fibers, causing burning and poor finish.
- Wear patterns. Uneven wear suggests the blade was not mounted correctly or the workpiece was forced through.
If teeth are dull, the machine struggles to cut, generating excess heat and smoke. This accelerates the wear of the arbor and the motor. Replace the blade if more than a few teeth are visibly dull or damaged. Do not attempt to sharpen industrial saw blades in the field unless you have the specific tooling for that model. Field sharpening is risky. It can remove too much steel, altering the geometry and causing the blade to vibrate. It can also leave burrs that are harder to remove than the original dullness.
Look for chipping on the cutting edge. A chipped tooth creates a notch in the kerf. This notch causes the blade to bind as it cuts deeper. Binding generates heat, which warps the blade. A warped blade will not cut true, even if it is sharp. Check the back of the teeth for nicks. Nicks on the back edge reduce the blade’s ability to push wood through the kerf. This increases the load on the motor and can cause the blade to stall. If you see nicks, replace the blade. Do not try to polish them out. Polishing weakens the tooth root and creates a weak point that can fracture under load.
3. Arbor Bore and Fit
The arbor bore is the hole in the center of the blade where the spindle shaft goes. This is the most common failure point in industrial saws. A loose fit causes the blade to wobble, leading to inaccurate cuts and premature blade failure. The bore must be concentric with the blade’s center of gravity. If the bore is out of round, the blade will vibrate regardless of how tight the lock nut is.
Check:
- Bore diameter. The bore must match the spindle shaft size exactly.
- Surface condition. Look for burrs, rust, or deep scratches inside the bore.
- Fit. The blade should slide onto the arbor with moderate hand pressure. It should not spin freely, and it should not require a hammer to seat.
If the bore is worn, the blade will wobble even with a tight lock. This is a common issue with high-usage industrial table saws. The solution is usually to replace the blade, not the arbor. The arbor is a hardened steel shaft. It wears slowly. The blade bore is usually thinner and wears faster. If the arbor is scratched or rusted, clean it with a fine abrasive pad. Do not use a wire brush. It can leave deep scratches that act as stress risers. If the arbor is worn, replace it. A worn arbor will continue to wear out new blades.
Ensure the arbor washer and lock nut are present and in good condition. A missing washer can damage the bore surface. The washer distributes the clamping force evenly across the blade’s face. Without it, the blade face can warp or crack. Check the washer for cracks or deformation. Replace it if it shows any signs of damage. Use the correct size washer. A washer that is too large will not fit, and one that is too small will not provide enough support. The lock nut must be tightened to the manufacturer’s specified torque. Do not use a wrench that is too large. It can strip the threads. Use a torque wrench if available. If you do not have one, tighten the nut until it is snug, then back it off slightly and tighten again. This prevents over-tightening.
4. Runout and Alignment
Runout is the deviation of the blade from a perfect circle as it rotates. High runout causes the blade to hit the workpiece unevenly. This creates a rough cut, increases vibration, and can break the blade. Runout is measured in millimeters. A dial indicator is the standard tool for this check. The indicator tip should touch the blade edge, not the flat face. The flat face is not the best reference point for runout. The edge is the part that cuts.
Procedure:
- Mount the blade and tighten the lock nut to the specified torque.
- Place a dial indicator on the table, touching the outer edge of the blade.
- Rotate the blade slowly by hand.
- Read the maximum deflection at the highest point of the wobble.
Acceptable runout varies by blade diameter and application, but generally, anything over 0.5mm at the outer edge is a cause for concern. If runout is high, check the arbor for wear. If the arbor is good, the blade is likely out of round. An out-of-round blade cannot be corrected by tightening the lock nut. The blade is physically distorted. Tightening the nut only clamps the distortion. It does not remove it.
Do not use a straightedge to check runout. A straightedge only checks for flatness, not roundness. A blade can be flat but still out of round. The dial indicator is the only reliable tool for this measurement. If you do not have a dial indicator, use a piece of thin card stock. Place it against the blade edge and rotate the blade. If the card stock rubs unevenly, the blade has runout. This is a rough check, but it can identify severe runout. For precise measurements, use a dial indicator. Record the runout value. If the runout is near the limit, replace the blade. Do not risk the cut. A blade with high runout is a ticking time bomb. It will fail sooner rather than later.
5. Guard and Riving Knife Alignment
The guard and riving knife are safety devices that prevent kickback. Misalignment can cause the blade to bind, which forces the blade out of true and can shatter the blade. The guard protects the operator from the upper part of the blade. The riving knife prevents the kerf from closing and pinching the blade. Both components must be correctly aligned to function properly.
Check:
- Guard position. The guard should retract fully when the workpiece is fed through. It should not rub against the blade.
- Riving knife alignment. The knife should be parallel to the blade and flush with the table surface.
- Clearance. The riving knife should not contact the back of the blade.
If the riving knife is too close to the blade, it can pin the blade in the kerf as the cut progresses. This sudden stop can kick the workpiece back. If the guard is misaligned, it can catch the blade and force it out of alignment. Adjust these components before use. Do not bypass the guard, even for short cuts. The guard is designed to protect you. Bypassing it removes that protection. If the guard is difficult to adjust, check the mounting hardware. Loose bolts can cause the guard to shift during operation. Tighten the bolts and re-check the alignment.
The riving knife must be parallel to the blade. If it is tilted, it will rub against the back of the blade. This creates friction and heat. It can also cause the blade to bind. Use a straightedge to check the parallelism. The straightedge should lie flat against both the blade and the knife. If there is a gap, the knife is not parallel. Adjust the knife mounting until the straightedge fits without pressure. The knife should be flush with the table surface. If it is raised above the table, it can catch the workpiece. If it is below the table, it will not provide adequate support. Set it flush with the table.
Quick Reference Table
| Inspection Point | What to Look For | Action if Failed |
|---|---|---|
| Blade Edge | Cracks, dents, chips | Replace blade immediately |
| Tooth Condition | Dull, bent, or missing teeth | Replace or sharpen (if equipped) |
| Arbor Bore | Burrs, wear, loose fit | Replace blade, clean arbor |
| Runout | Deviation from true circle | Check arbor, replace blade |
| Guard/Knife | Misalignment, binding | Adjust and re-test |
Documentation and Maintenance Log
Record the results of this checklist. A simple logbook or digital entry helps track wear trends. Note the date, blade ID, and any findings. Keep the log in a place where it is accessible to all operators. A digital log is easier to search and analyze. A paper log is simpler and less likely to fail. Use whichever method your shop finds most practical. The key is consistency.
- Date of check
- Blade ID or batch number
- Runout measurement
- Condition of teeth and edge
- Action taken (e.g., replaced, adjusted, no action)
This data helps you predict when a blade needs replacement. It also provides evidence for maintenance claims. If a blade fails, the log shows when it was last inspected. This protects your team and supports continuous improvement in your shop. Look for trends in the log. If runout increases gradually over time, the blade is wearing out. If teeth show consistent wear on one side, the blade is being fed unevenly. Use the data to make informed decisions. Do not rely on intuition. Intuition is not reliable. Data is.
Common Mistakes to Avoid
- Skipping the check because the blade “looks fine.”
- Using a blade with a damaged arbor bore.
- Ignoring heat marks and assuming they are from the previous shift.
- Forcing a blade onto an arbor that does not fit.
- Operating the saw with the guard disabled.
These mistakes are common in high-pressure production environments. They are also the most common causes of saw-related accidents. Make this five-point check a non-negotiable part of your shift start-up routine. Train your team on the checklist. Ensure every operator knows how to perform each check. Assign responsibility for the check. Do not assume someone else has done it. Verify it. A five-point check takes less than ten minutes. It can save your machine, your product, and your life.
Frequently asked questions
How often should I inspect a circular saw blade?
Inspect the blade before every shift. This ensures that any damage or wear is caught before it causes a failure or injury.
What is the acceptable runout for an industrial table saw blade?
Runout acceptable limits depend on the blade diameter and application. Generally, a deflection over 0.5mm at the outer edge requires investigation and often replacement.
Can I repair a damaged arbor bore?
Most industrial saw blades are not designed for field repair of the arbor bore. If the bore is worn or damaged, replace the blade. Cleaning the arbor is recommended, but reaming or welding is not standard practice.
What should I do if I see heat marks on a blade?
Stop using the blade and investigate the cause. Heat marks indicate friction, which can be caused by binding, a dull blade, or misalignment. Correct the issue before resuming work.
Is it safe to run a saw with a slightly loose guard?
No. The guard is a critical safety device. If it is loose or misaligned, stop work and adjust it. Operating the saw without a properly functioning guard increases the risk of kickback and injury.